Okta SAML SSO
In this section, we will show you how to set up your own custom SAML application for Okta SAML.
Okta no longer exposes Attribute statements in the app creation wizard. Create the application first, then add the attribute statements from the application's Sign On tab. The steps below follow that order.
Create application
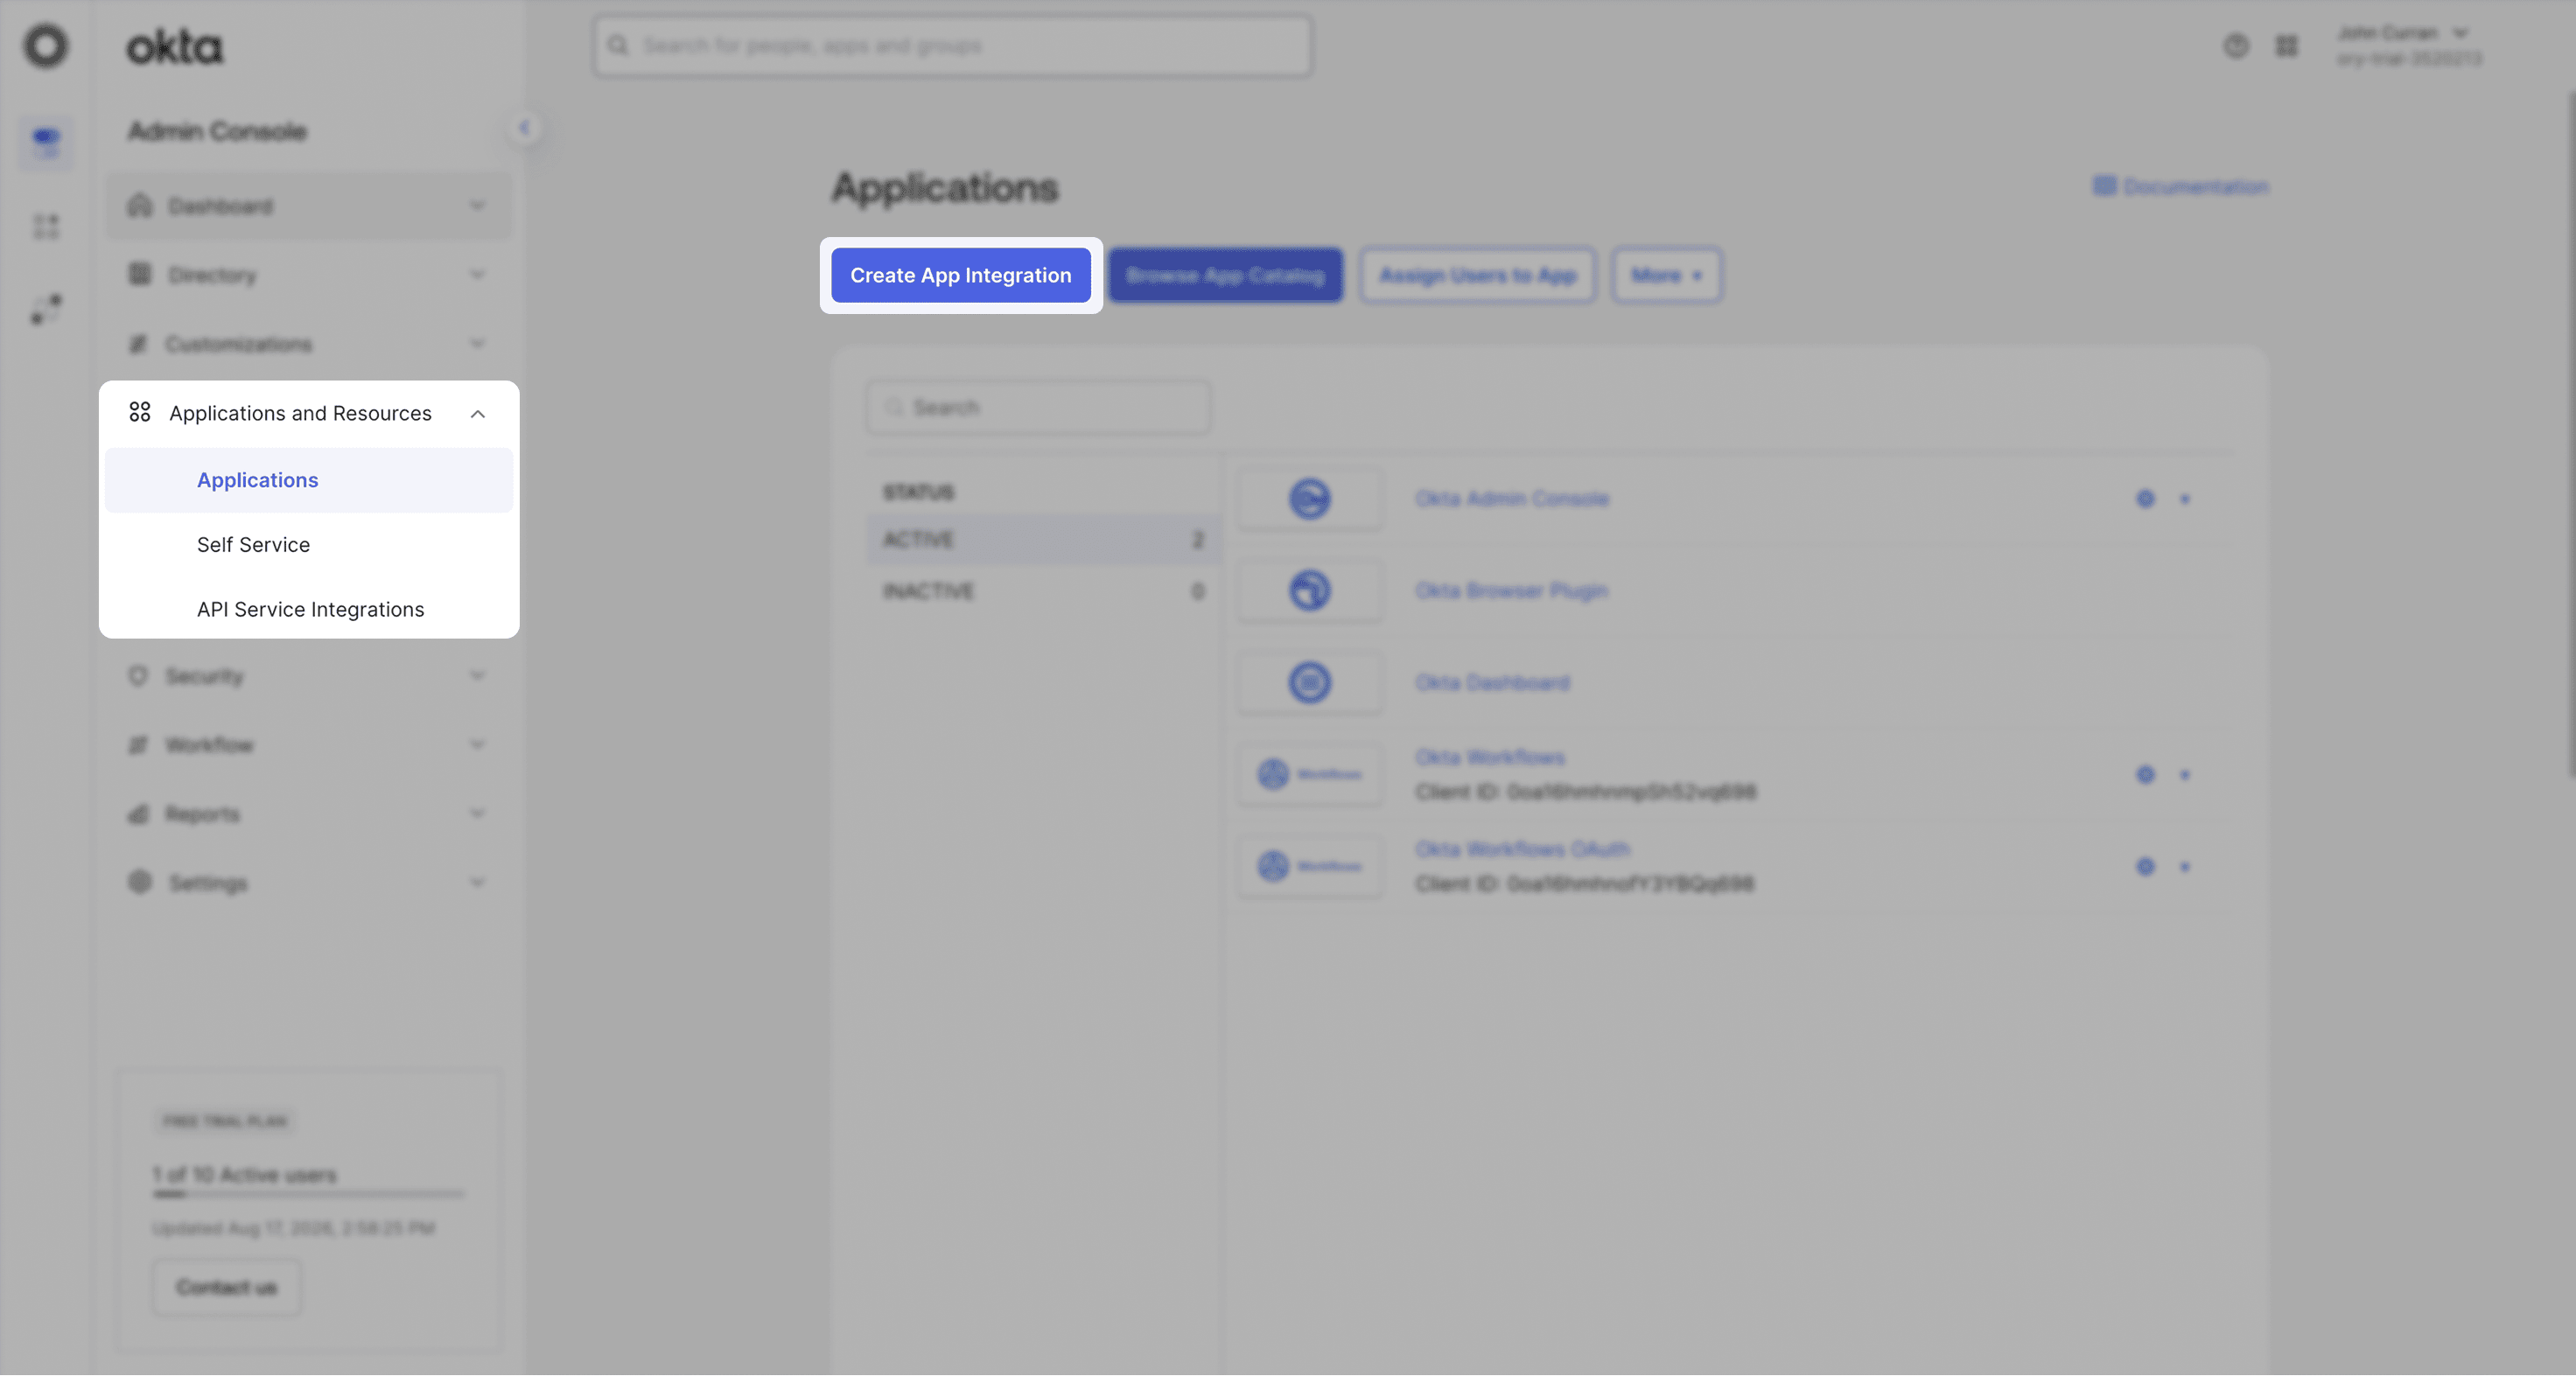
From your Okta Admin Console, click Applications and Resources > Applications in the left navigation menu.
If your application is already created, choose it from the list and move to the section Configure Application
If you haven't created a SAML application, click the Create App Integration button to create a new application.
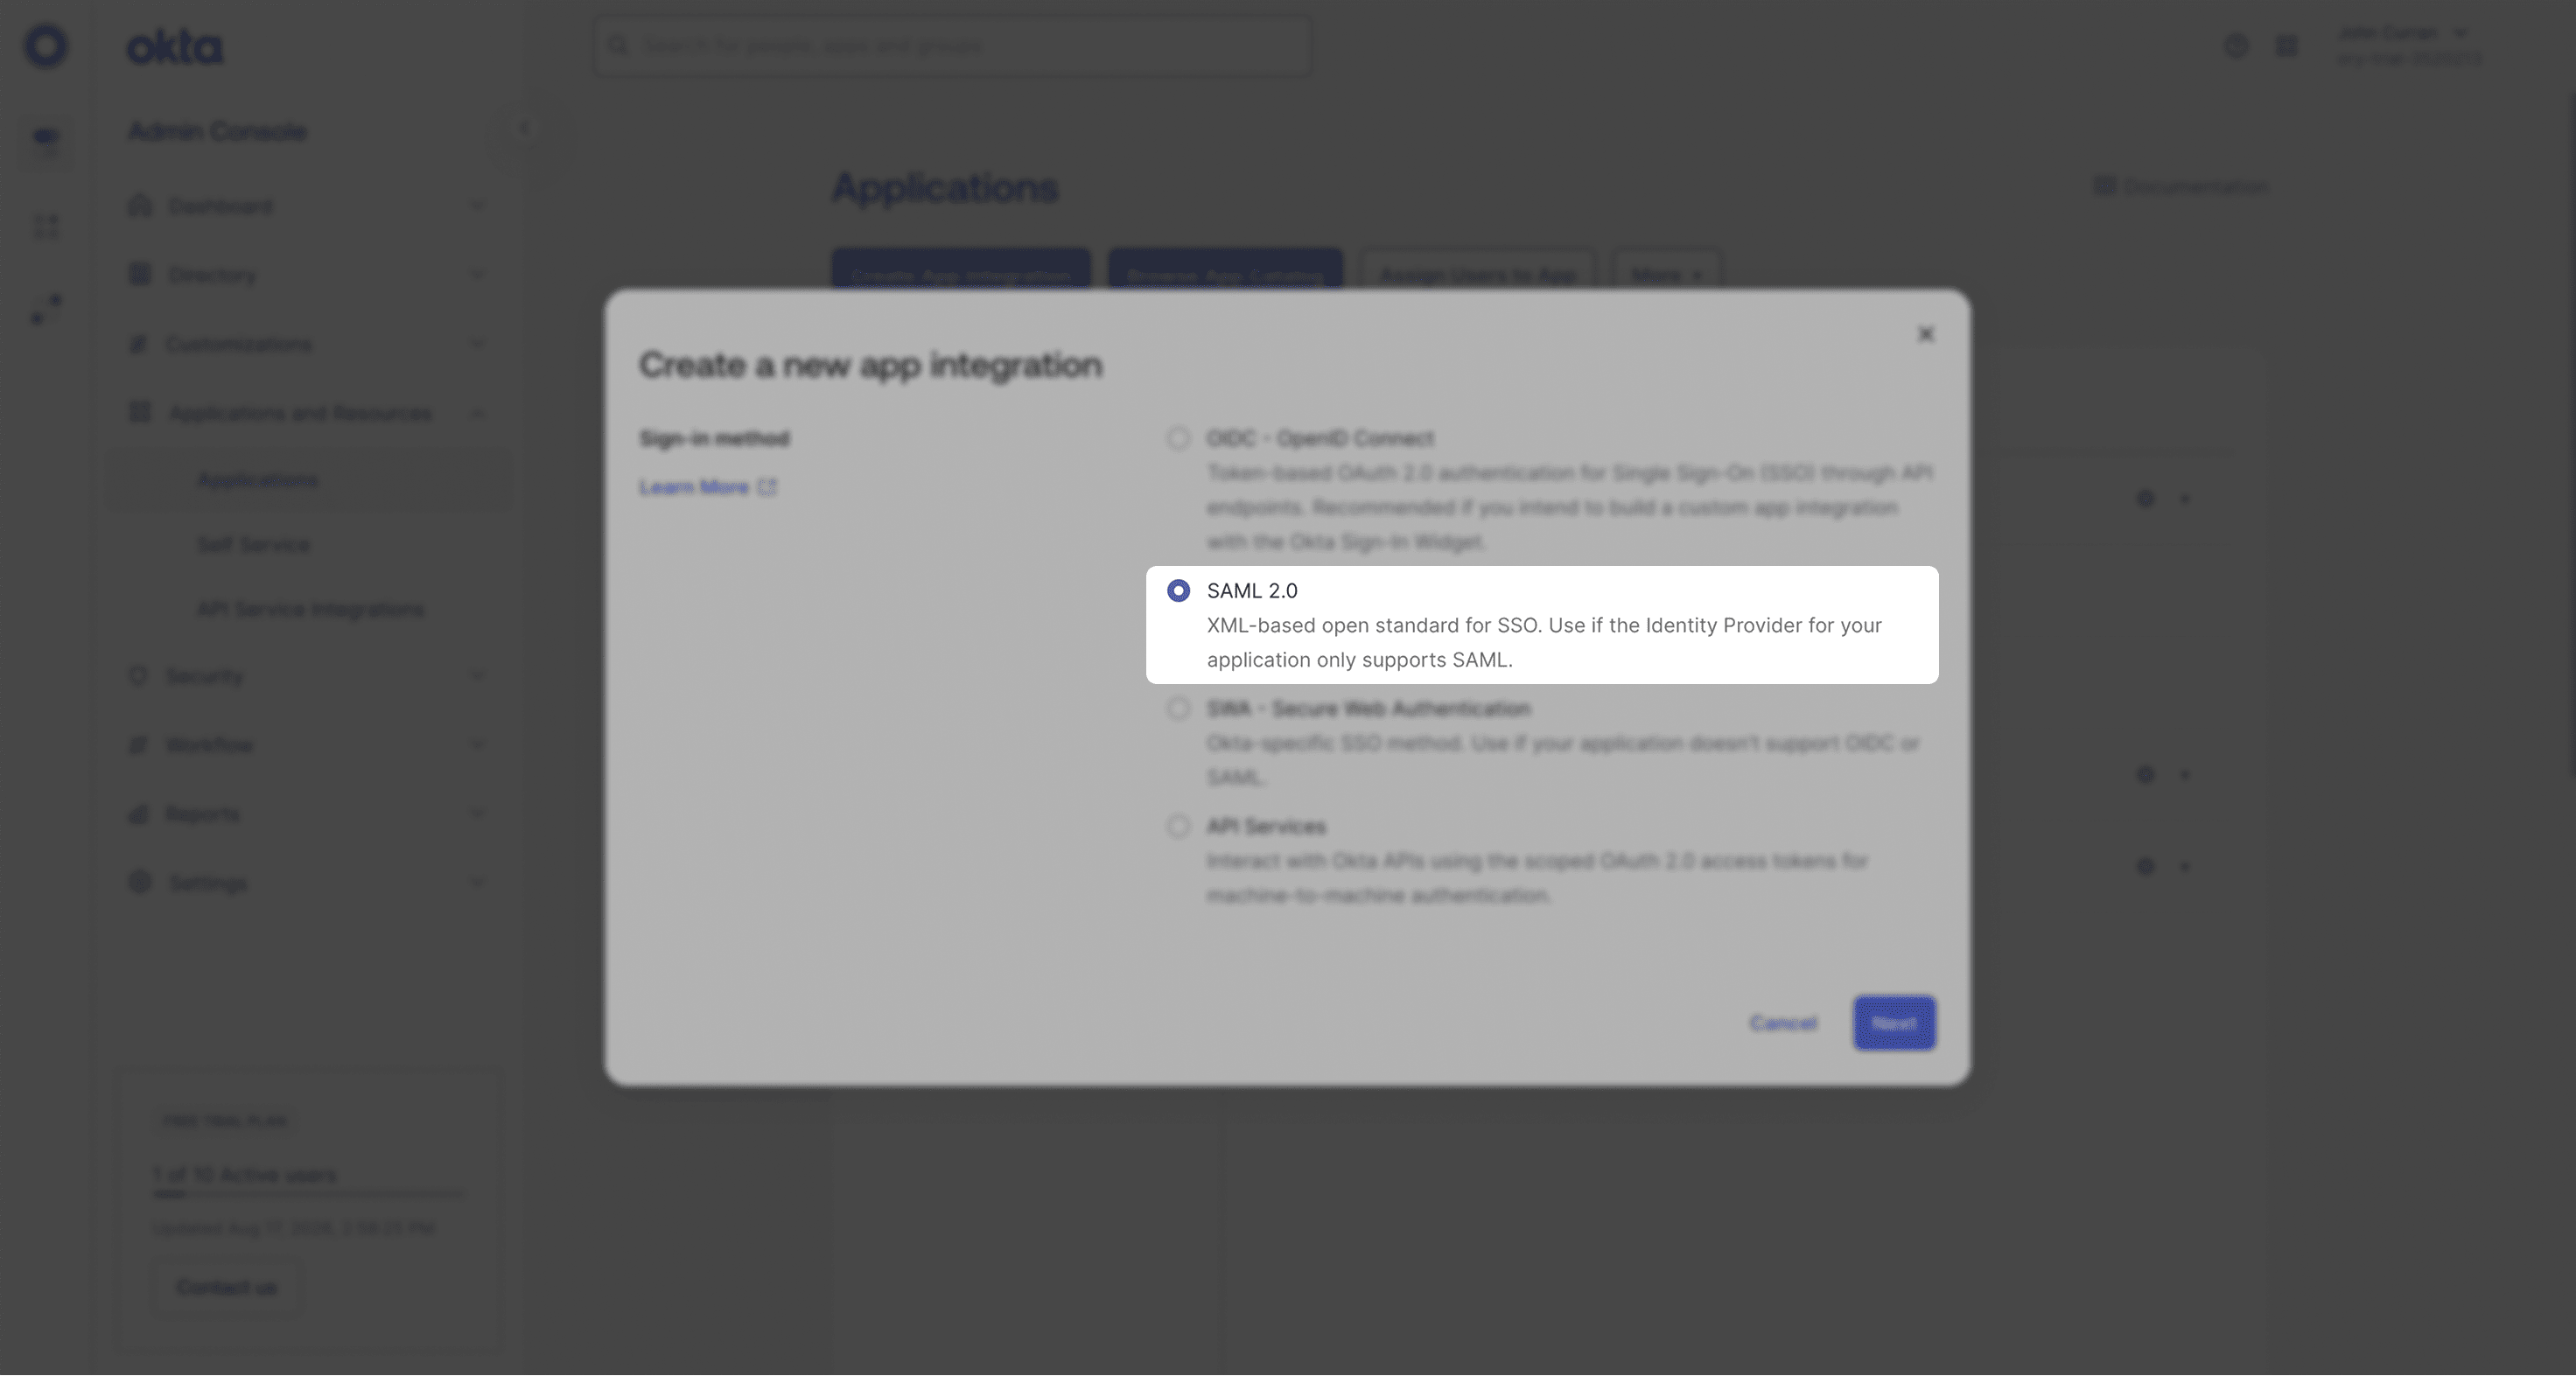
Choose SAML 2.0 as the sign-in method and click Next.
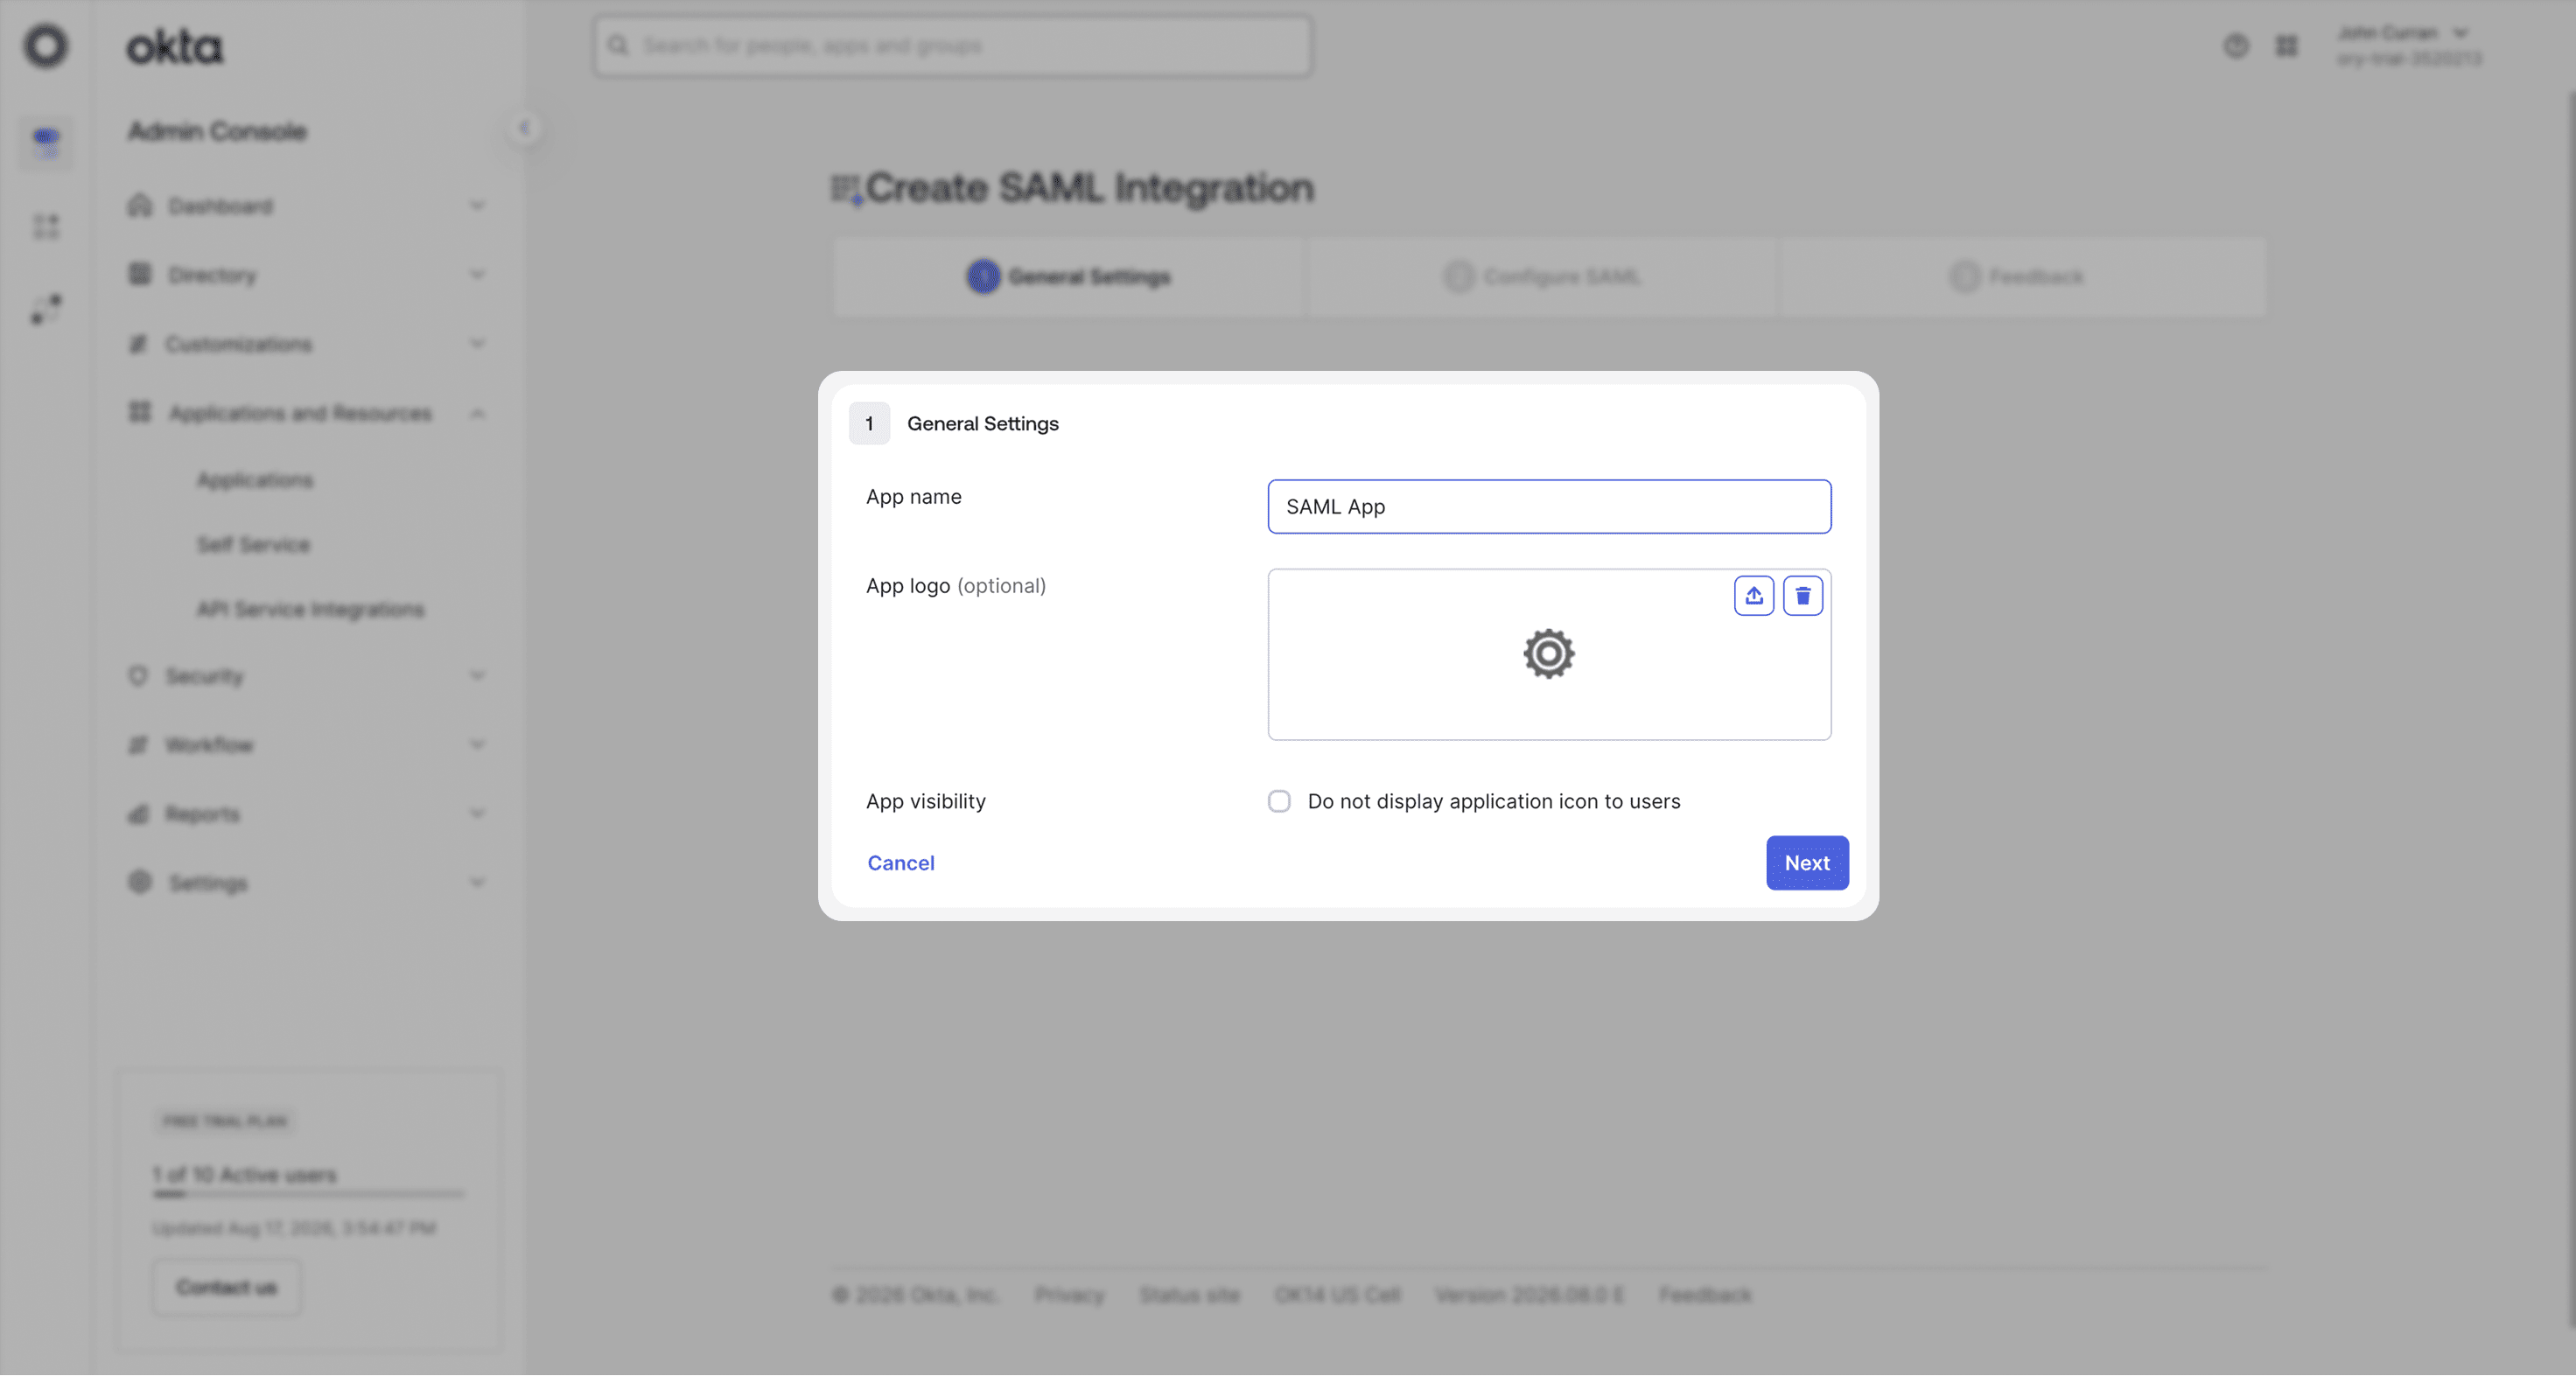
Give your application an App name and click Next.
Configure application
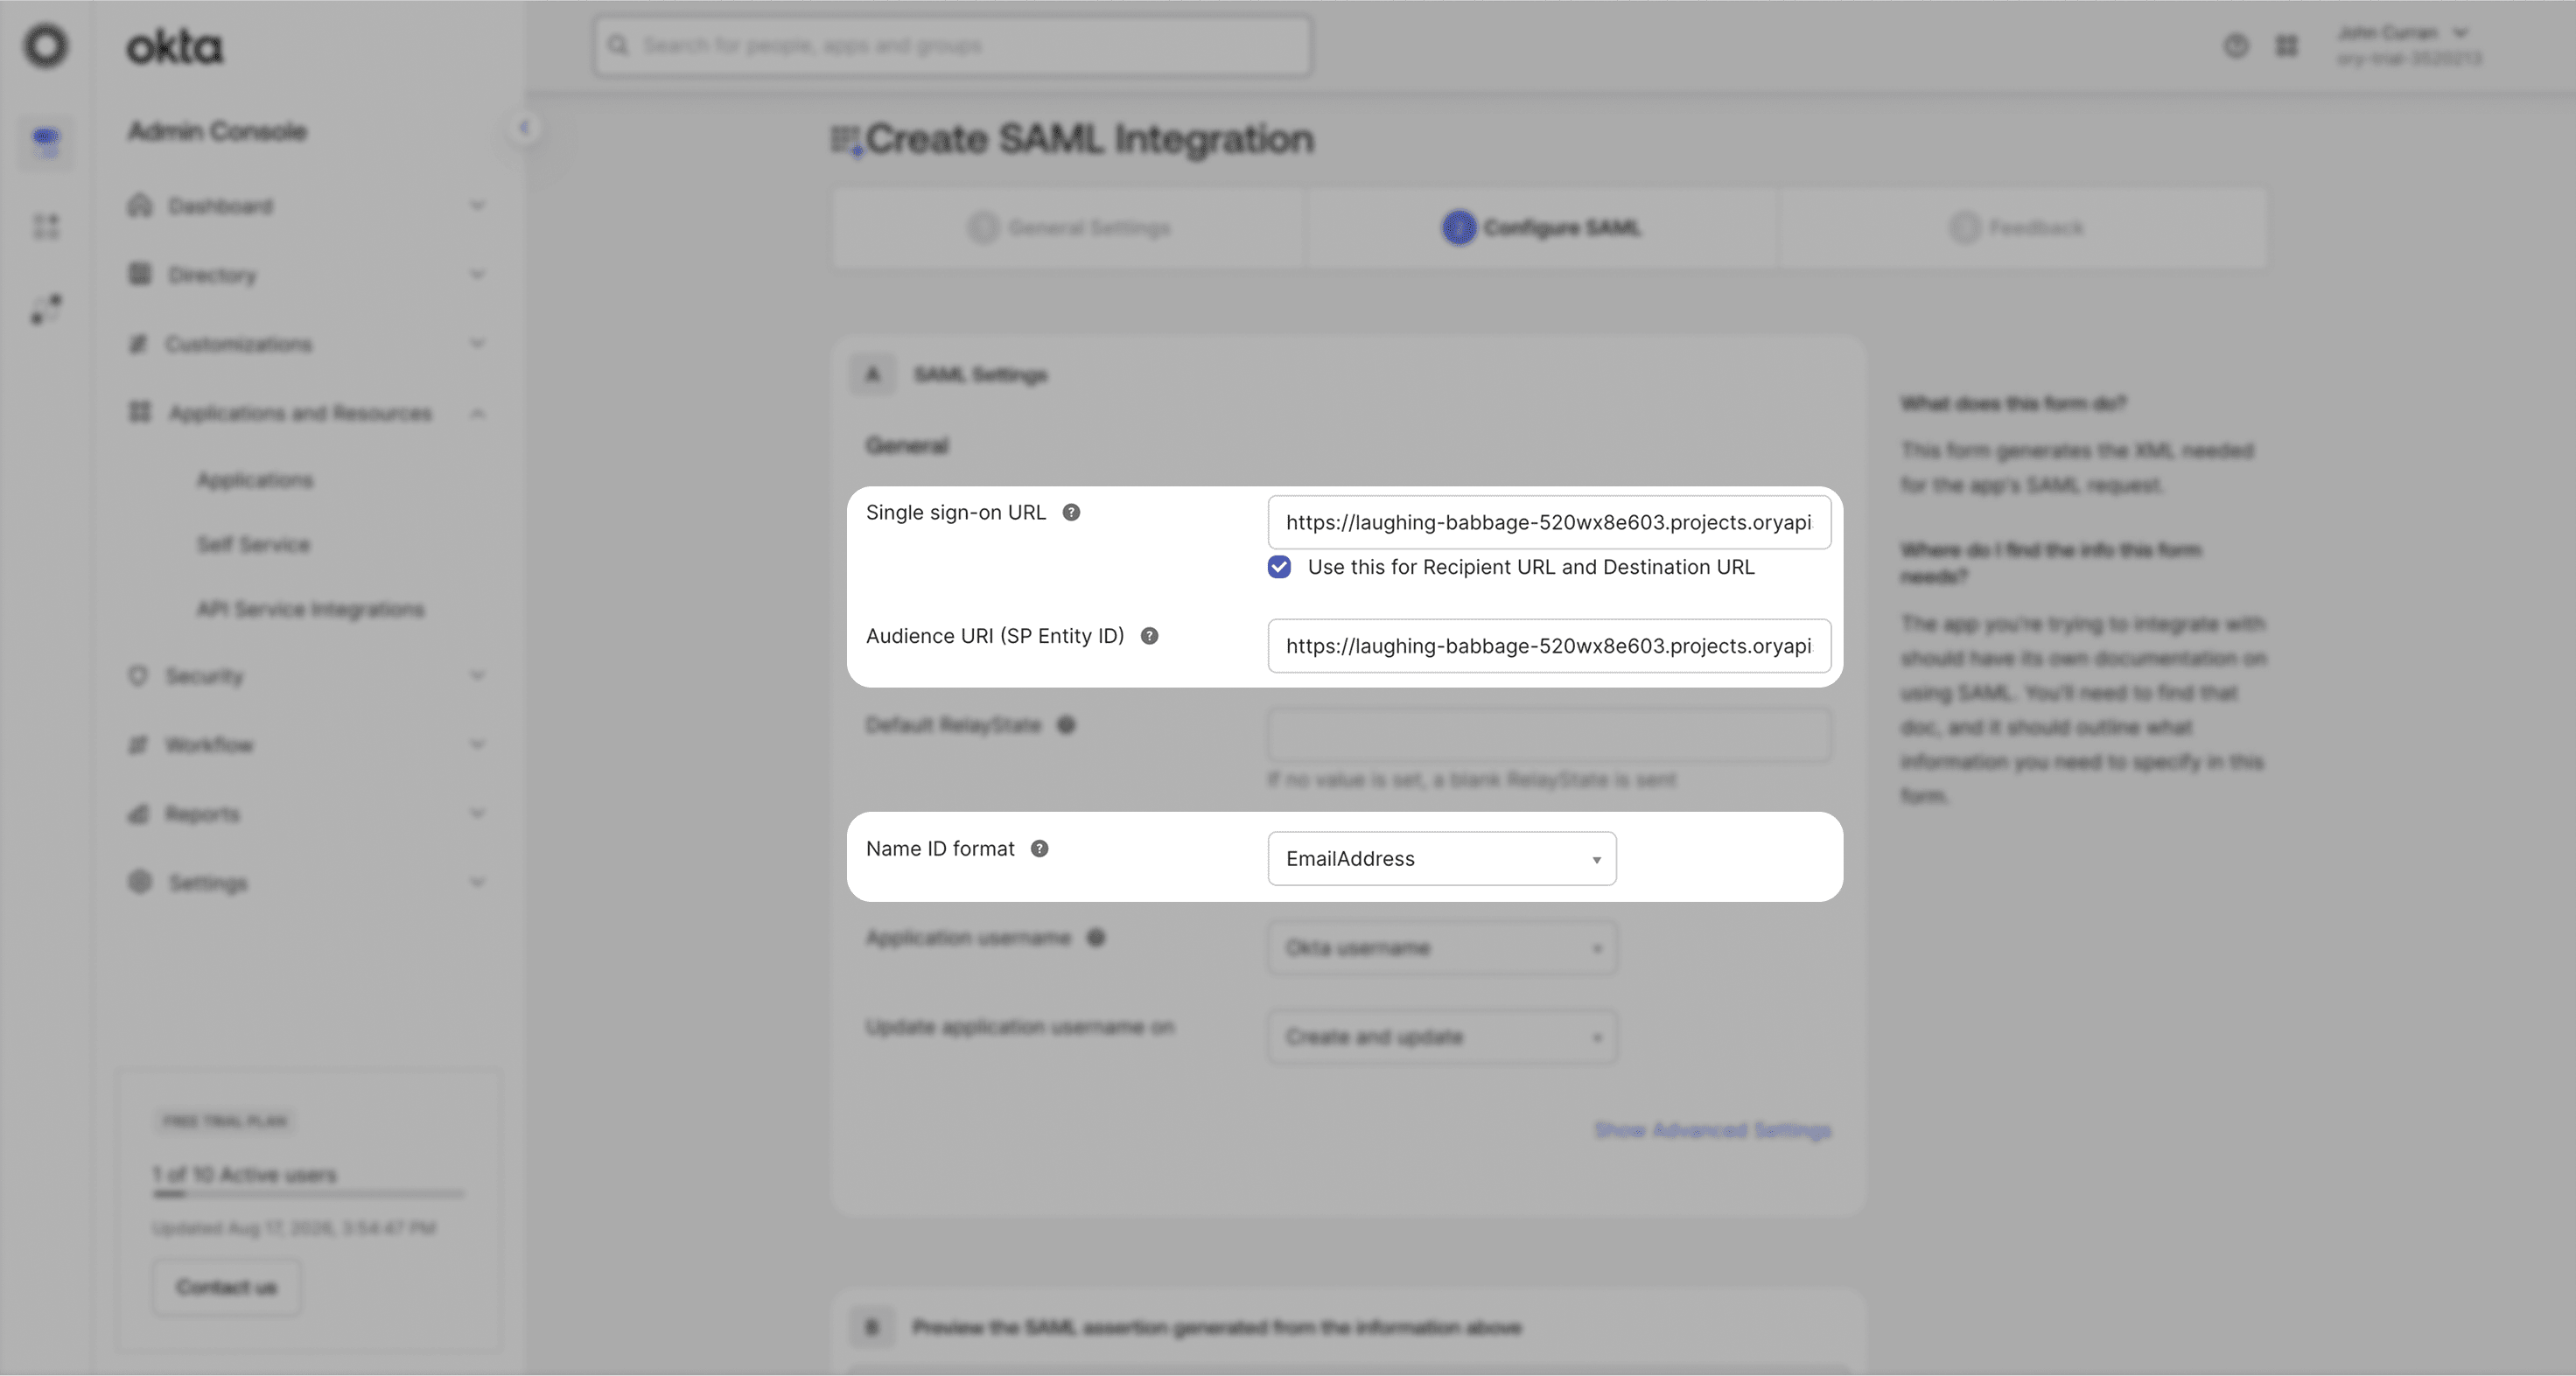
Enter the following values in the SAML Settings section on the Configure SAML screen:
- Single sign-on URL
- Audience URI (SP Entity ID)
- Select EmailAddress from the Name ID format dropdown.
Replace the values with the ones you have received from Ory Polis.
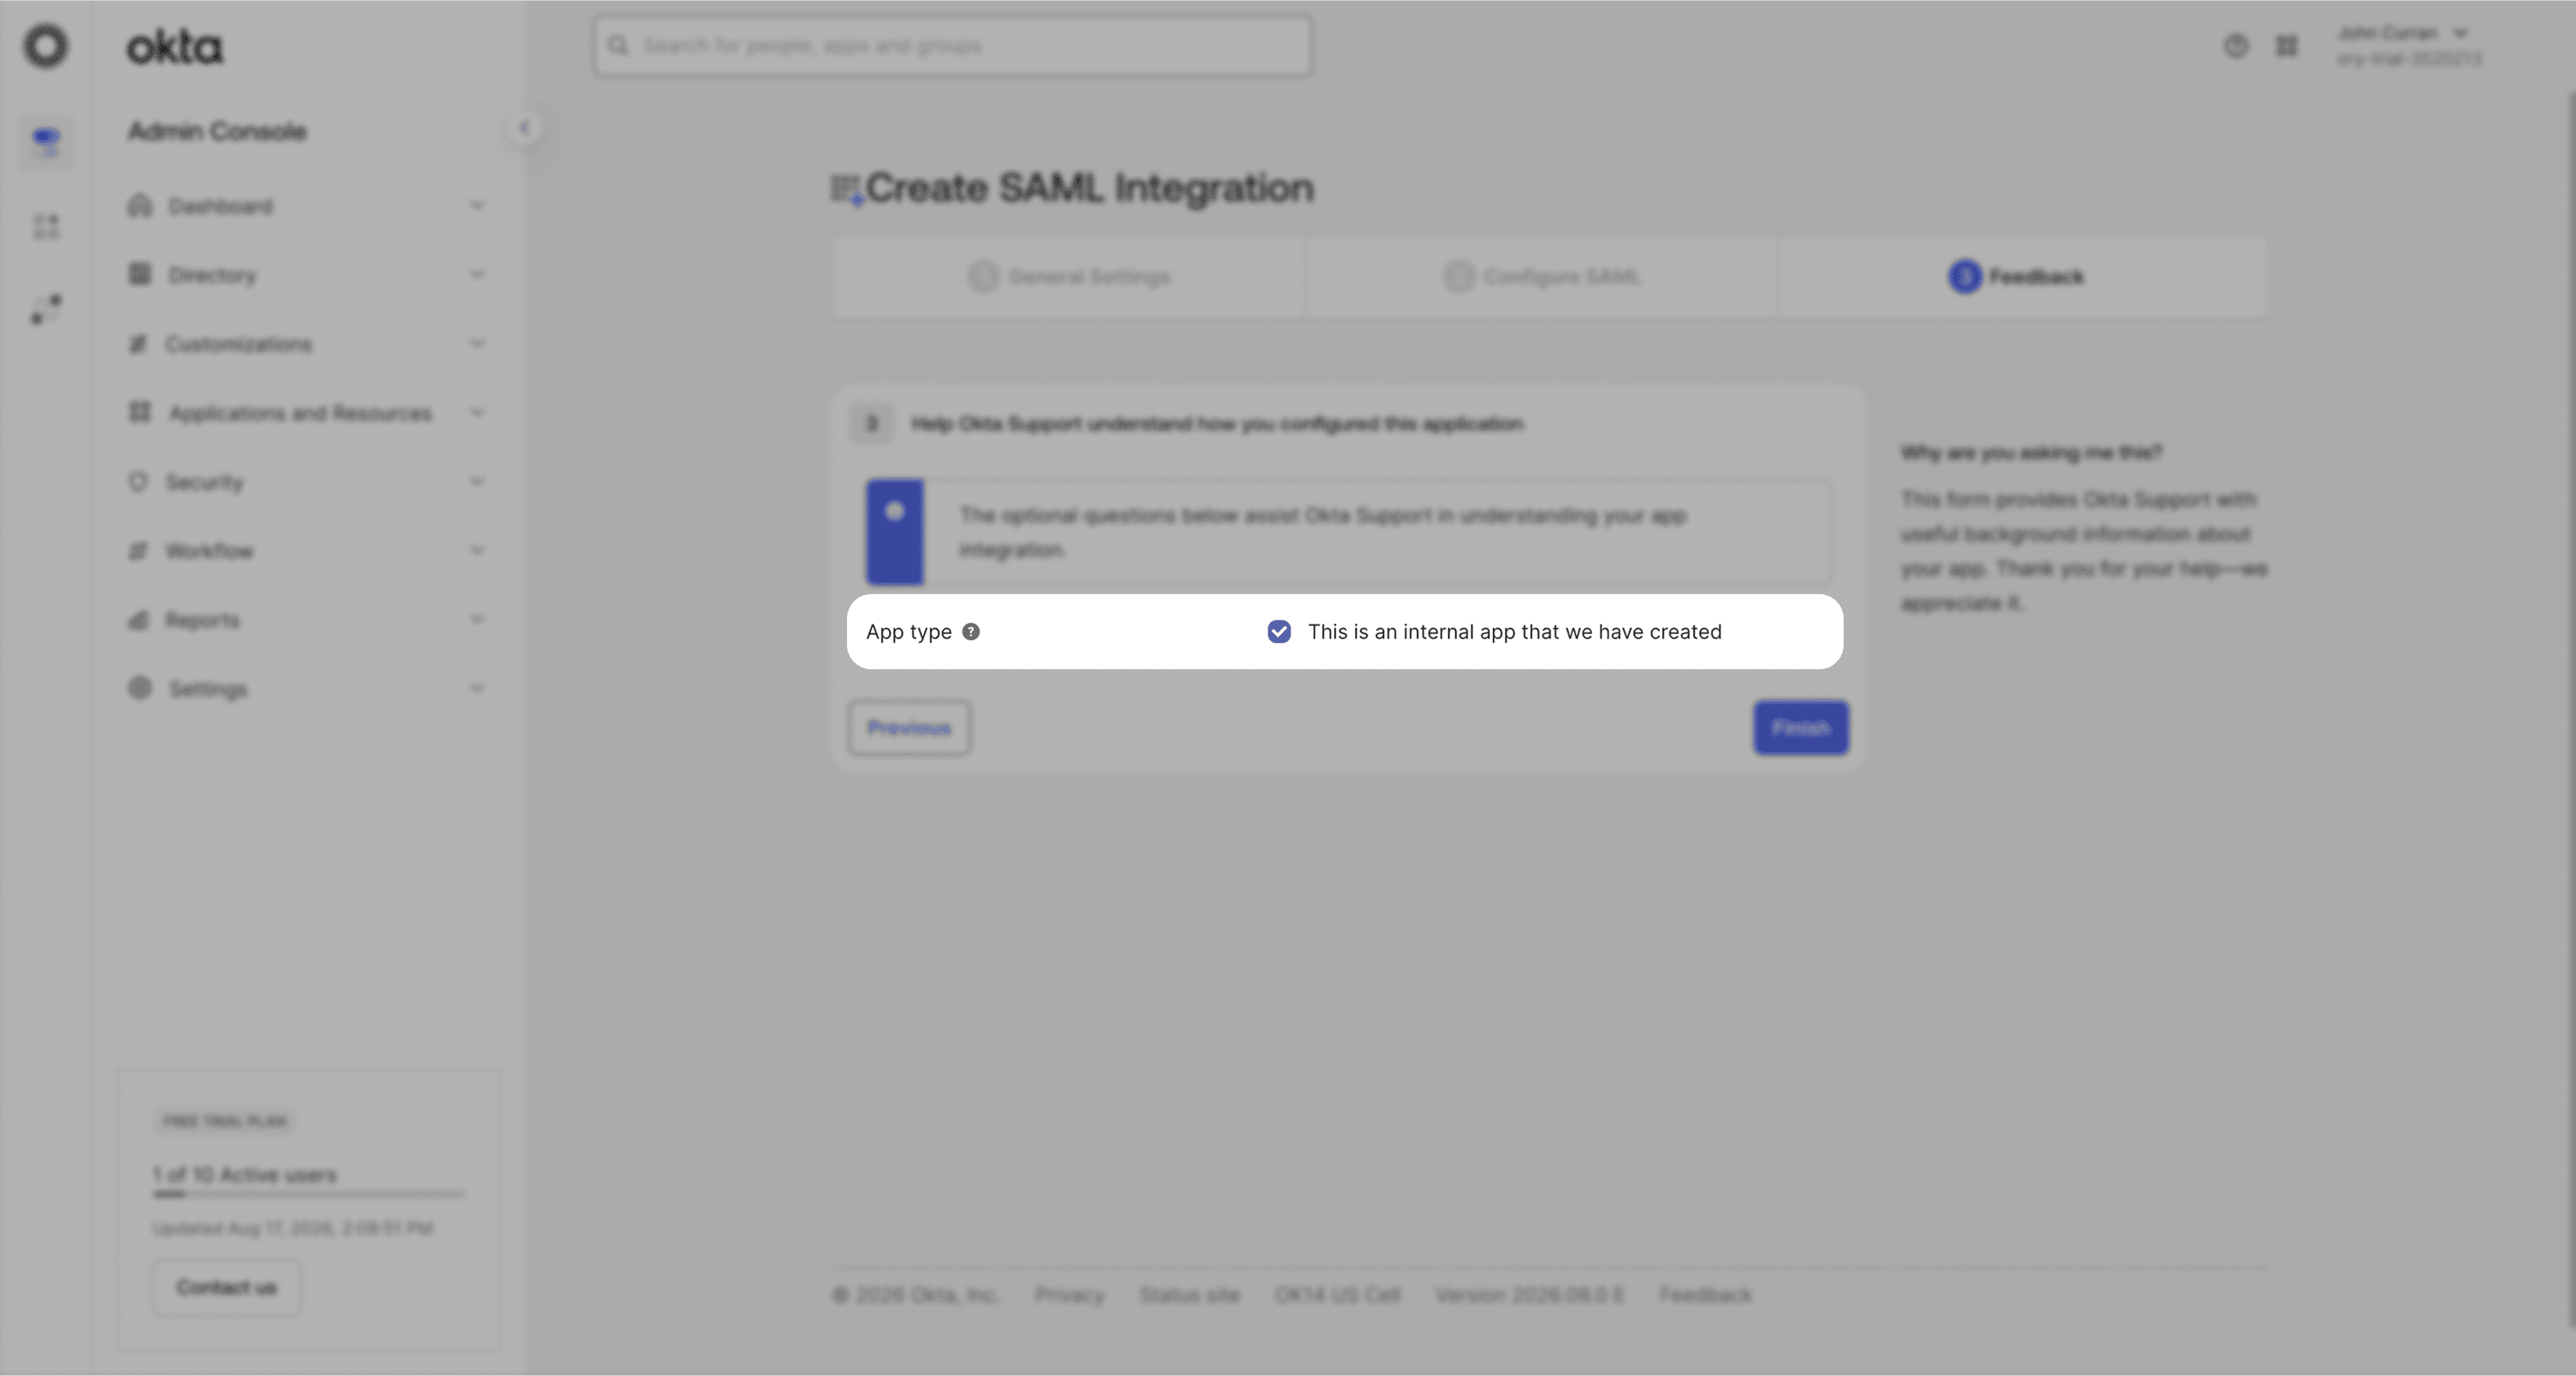
Click Next. On the Feedback screen, tick This is an internal app that we have created and click Finish.
Attribute mapping
Attribute statements are configured after the application exists.
From the application you just created, open the Sign On tab and scroll to the Attribute statements section.
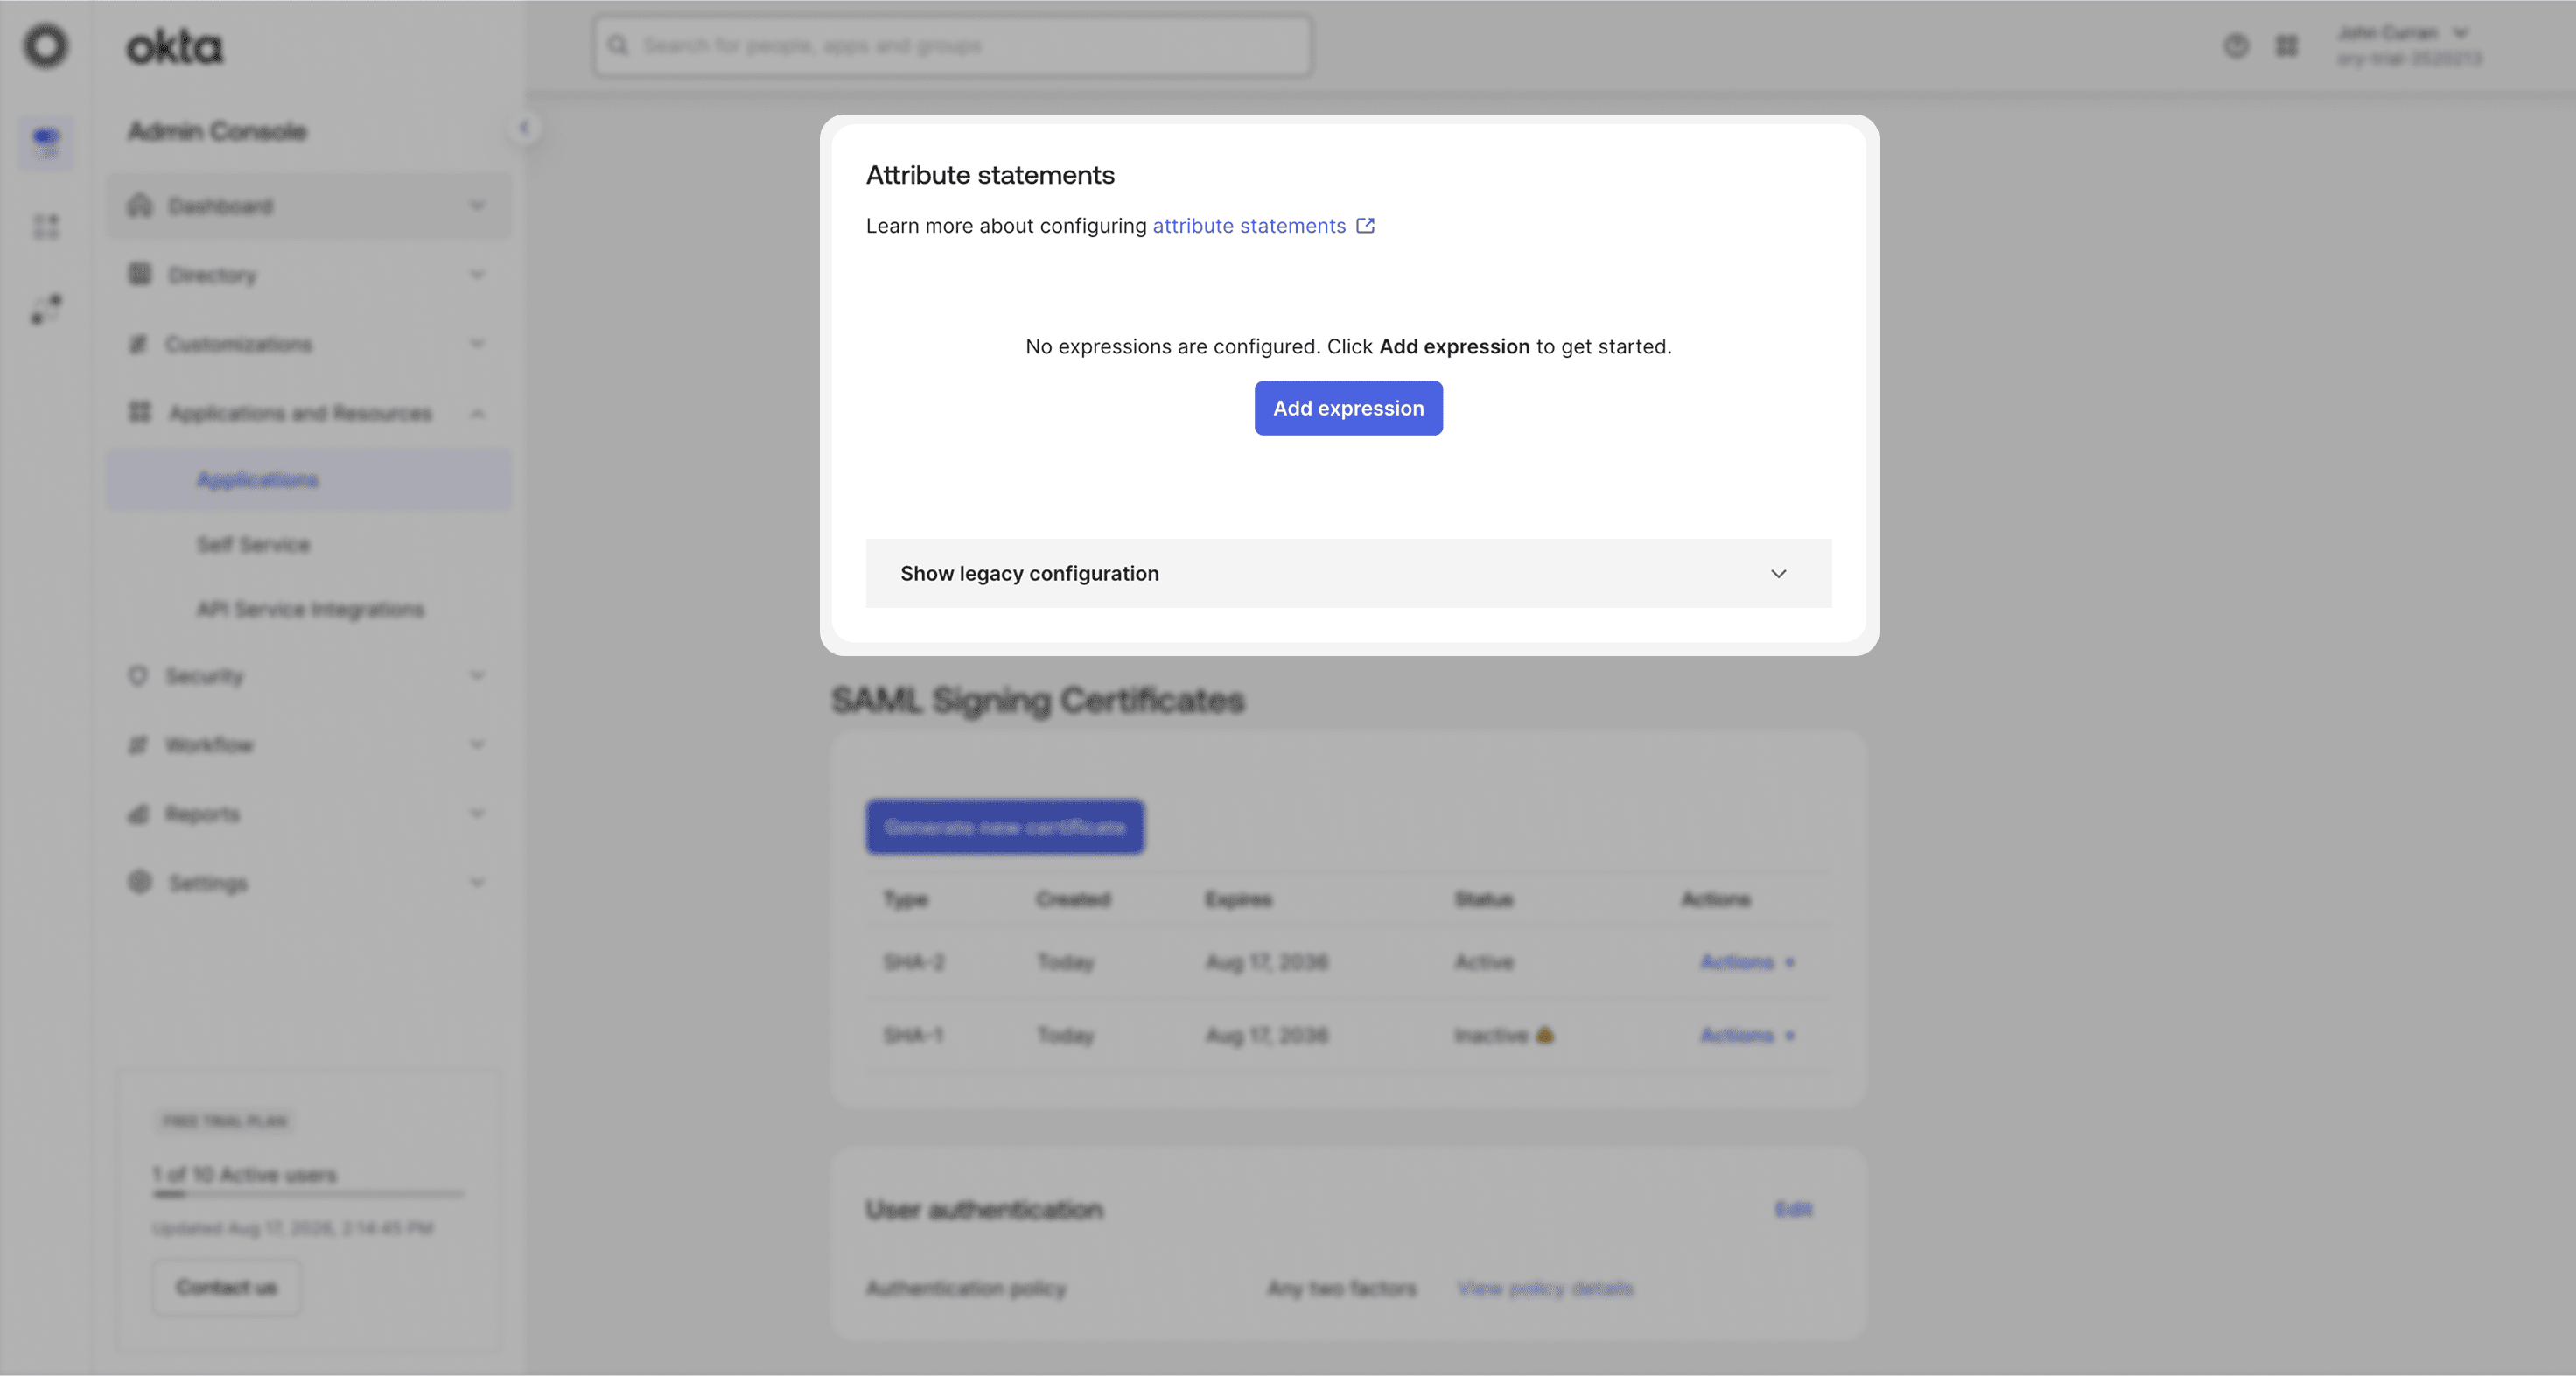
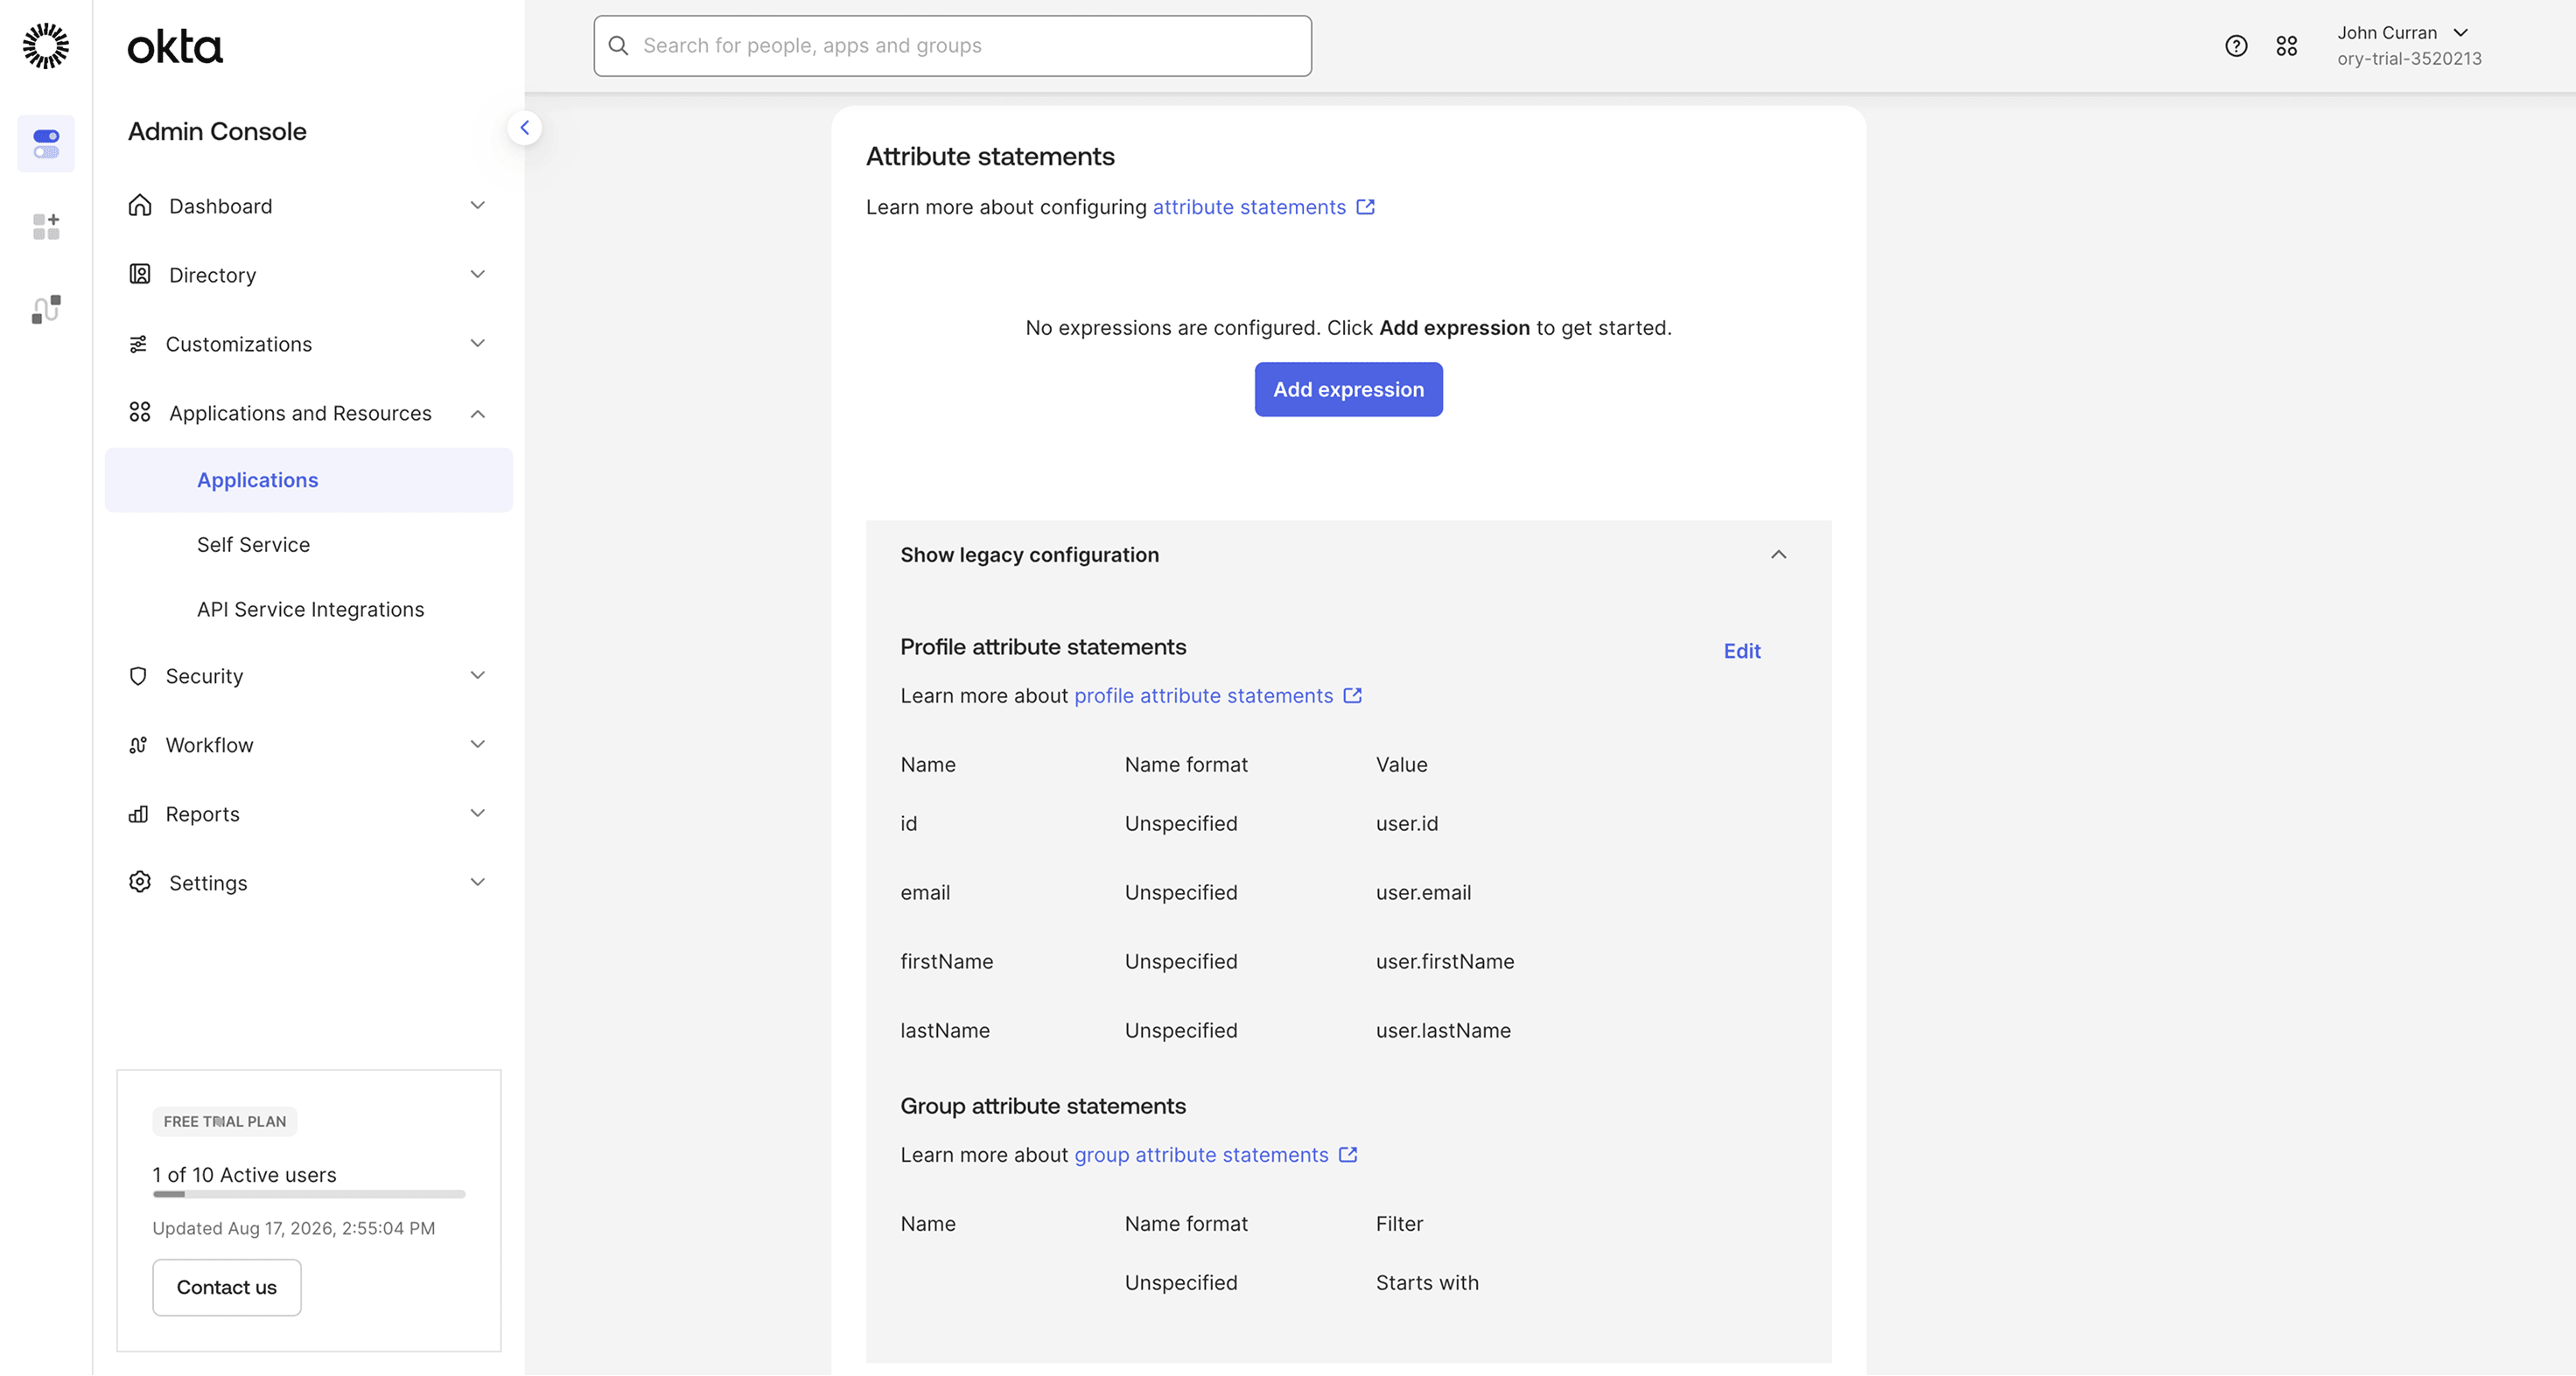
Expand Show legacy configuration, then click Edit next to Profile attribute statements.
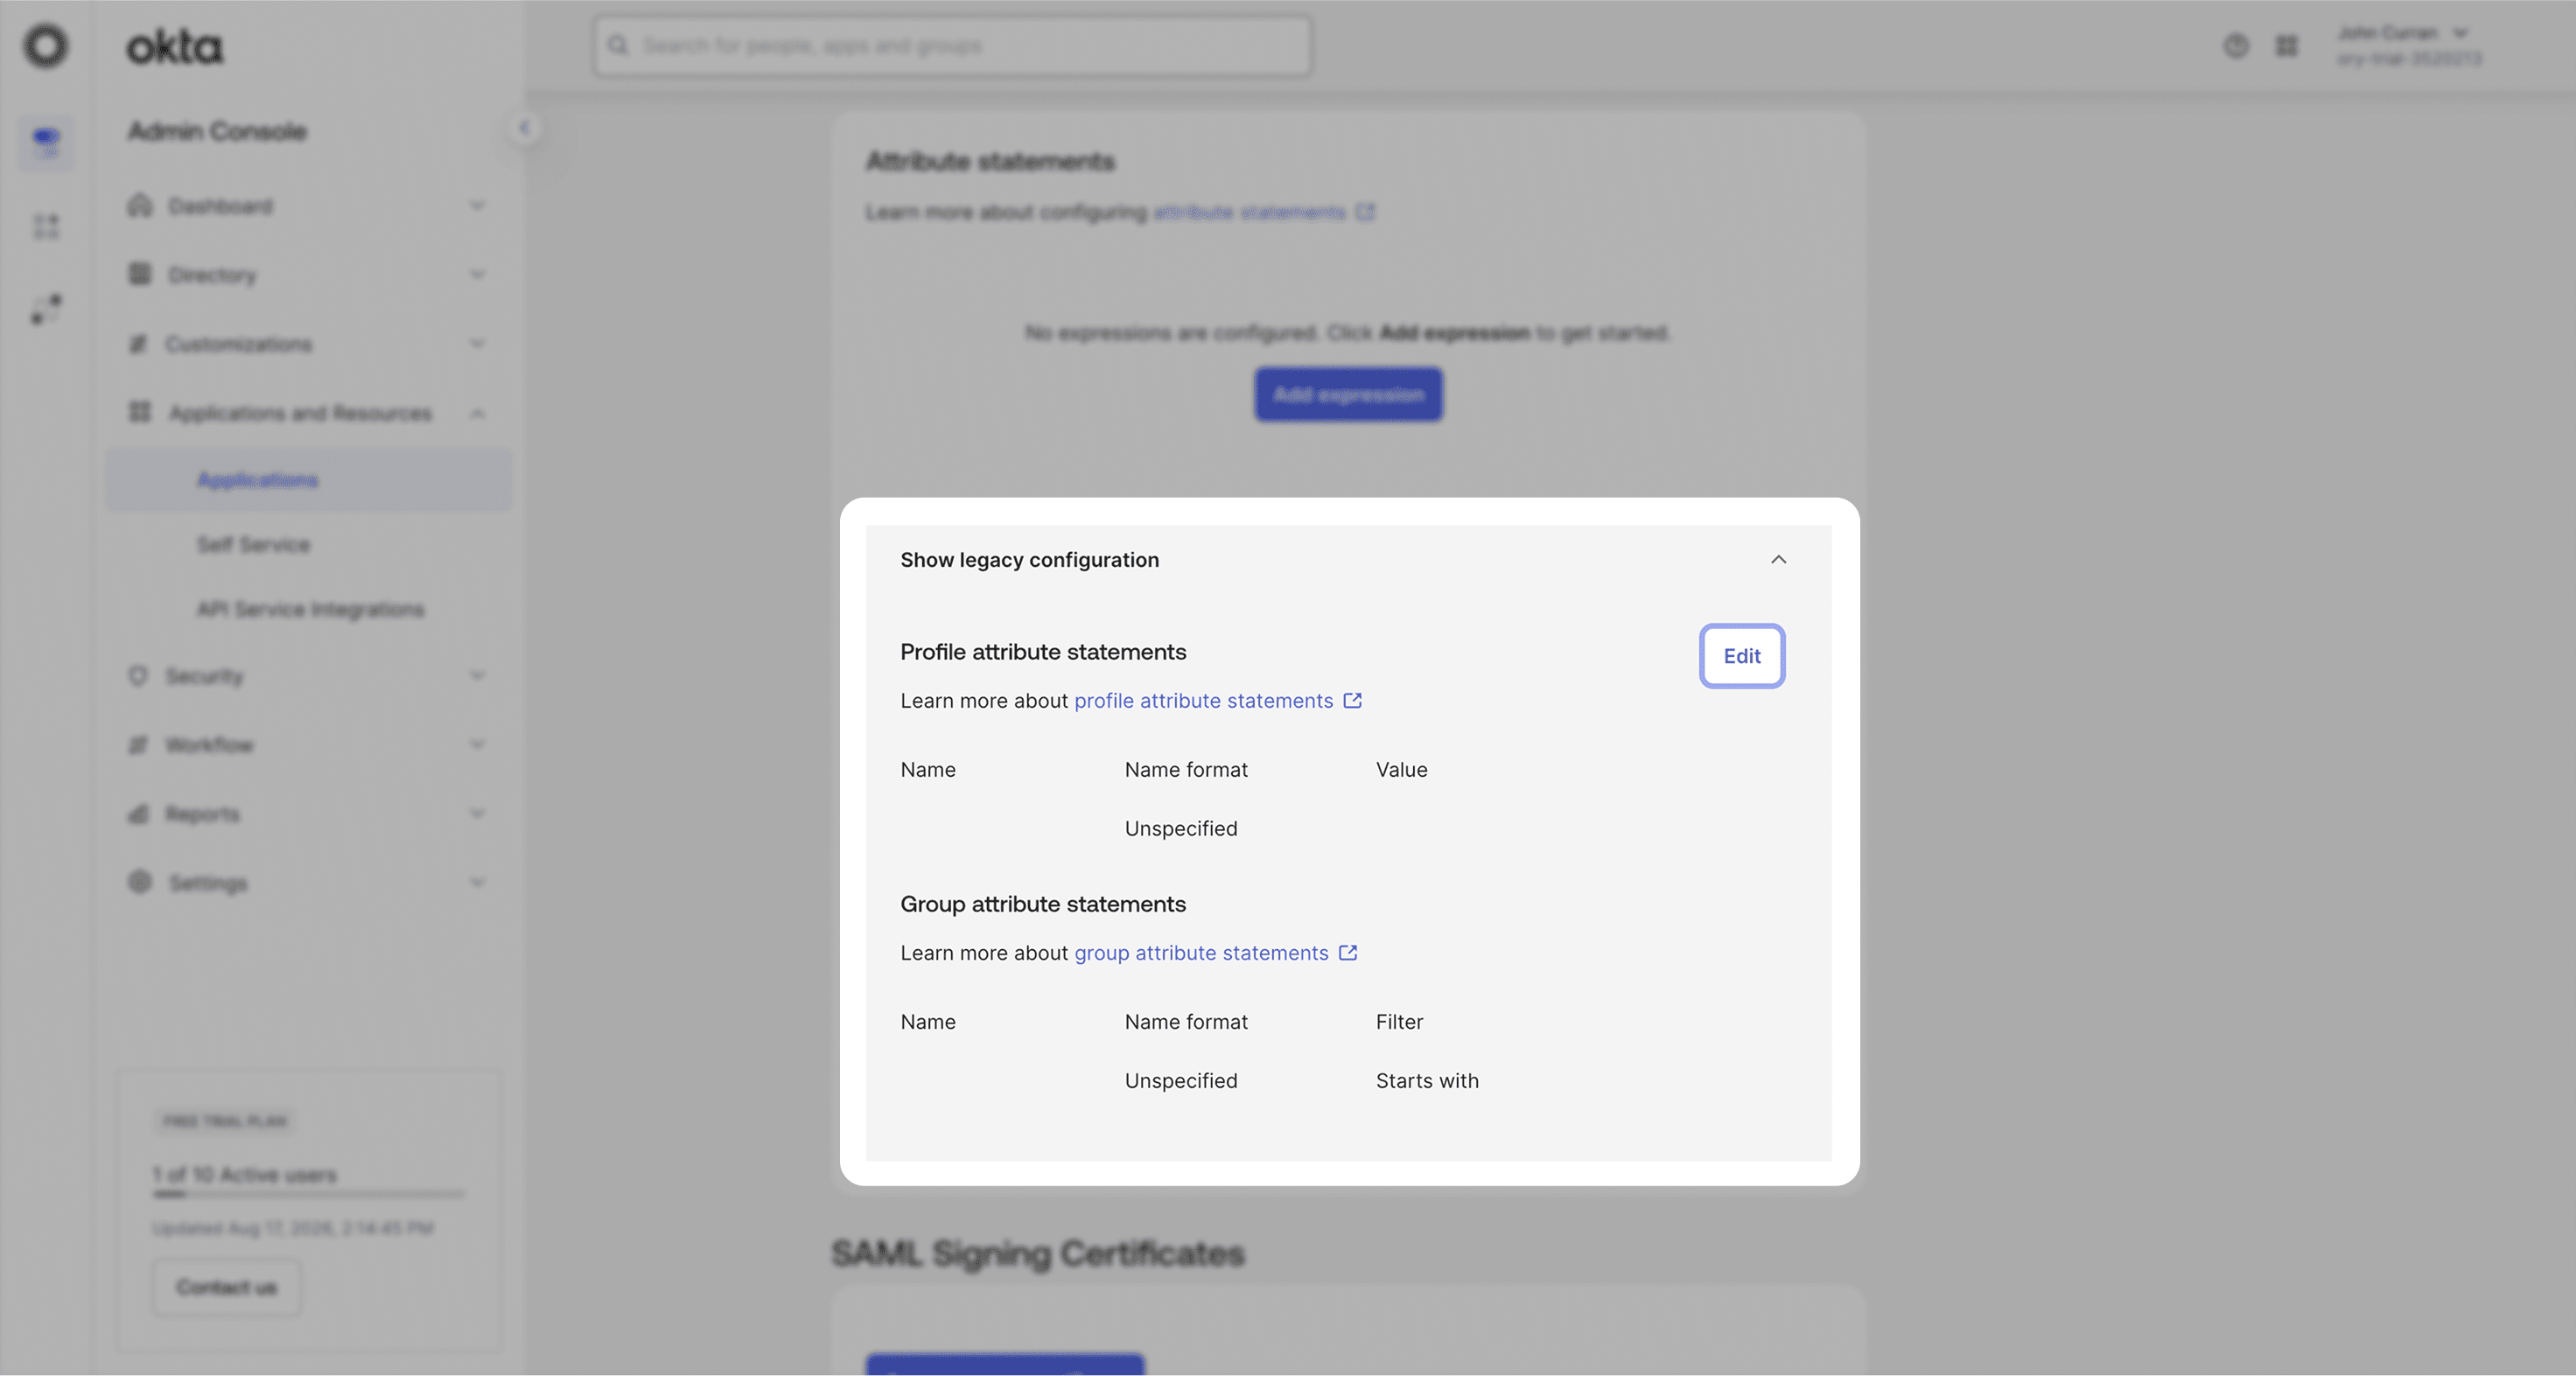
Add the following attributes, leave Name format as Unspecified, and click Save:
| Name | Value |
|---|---|
| id | user.id |
| user.email | |
| firstName | user.firstName |
| lastName | user.lastName |
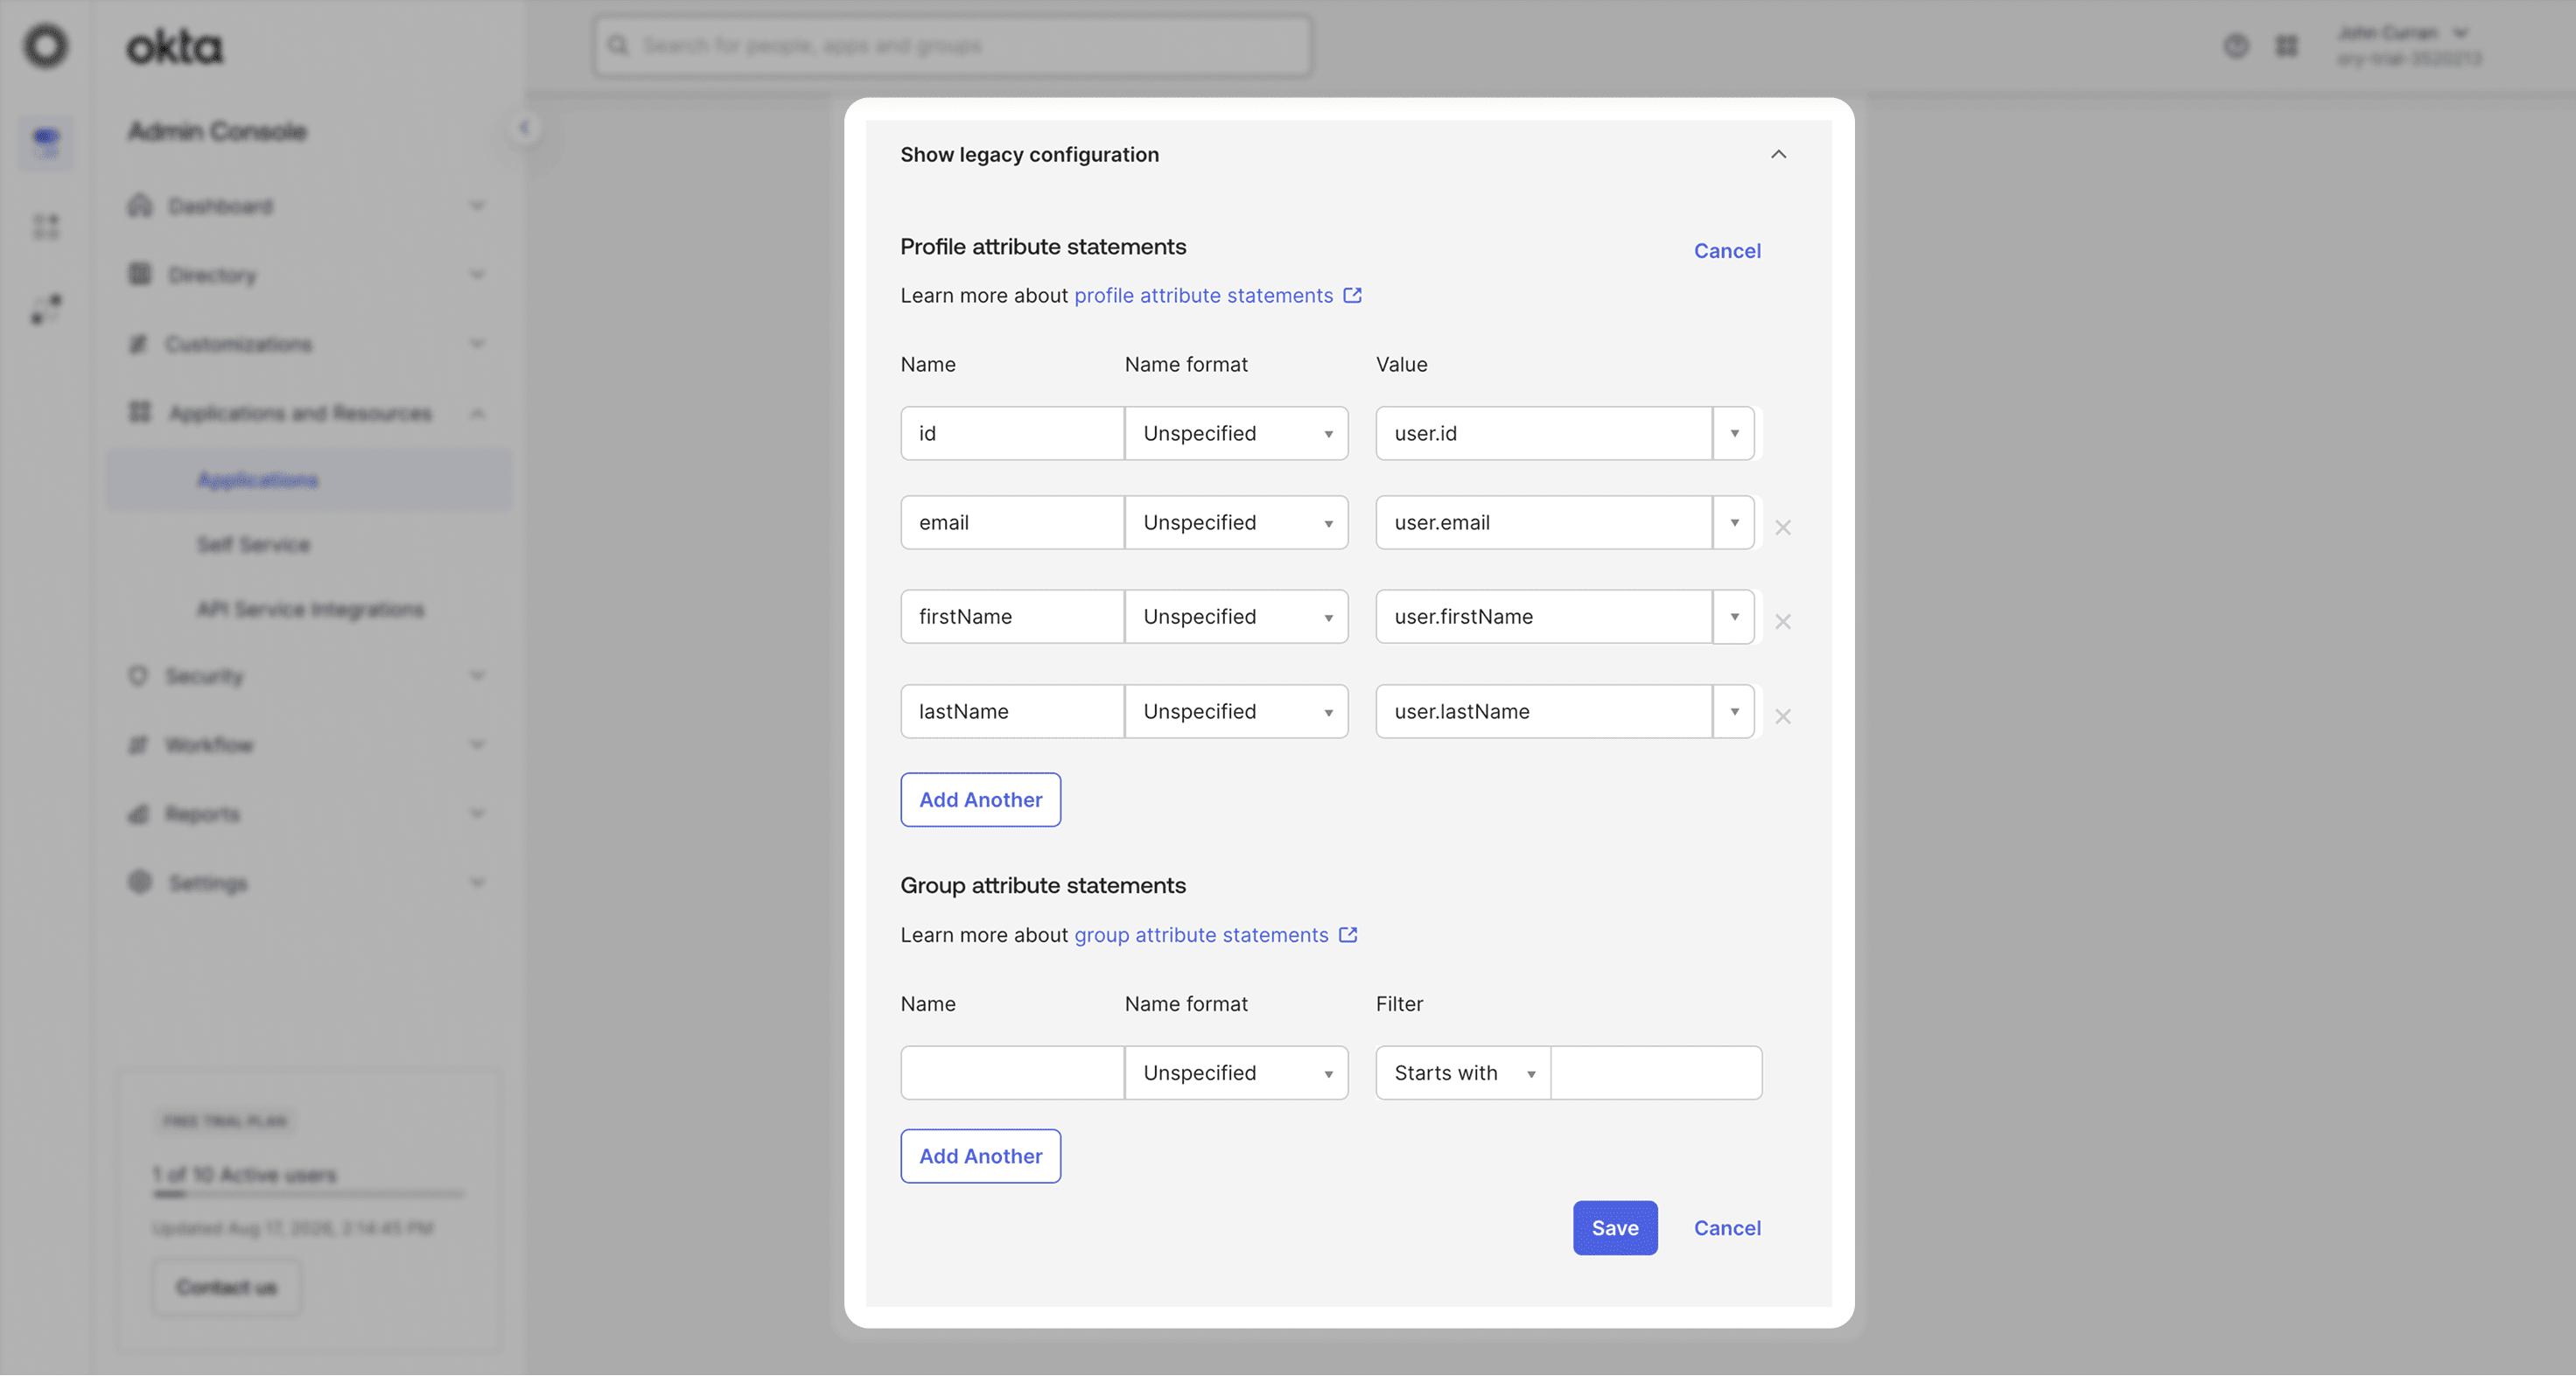
Your saved attribute statements should look like this.
Retrieve the IdP metadata
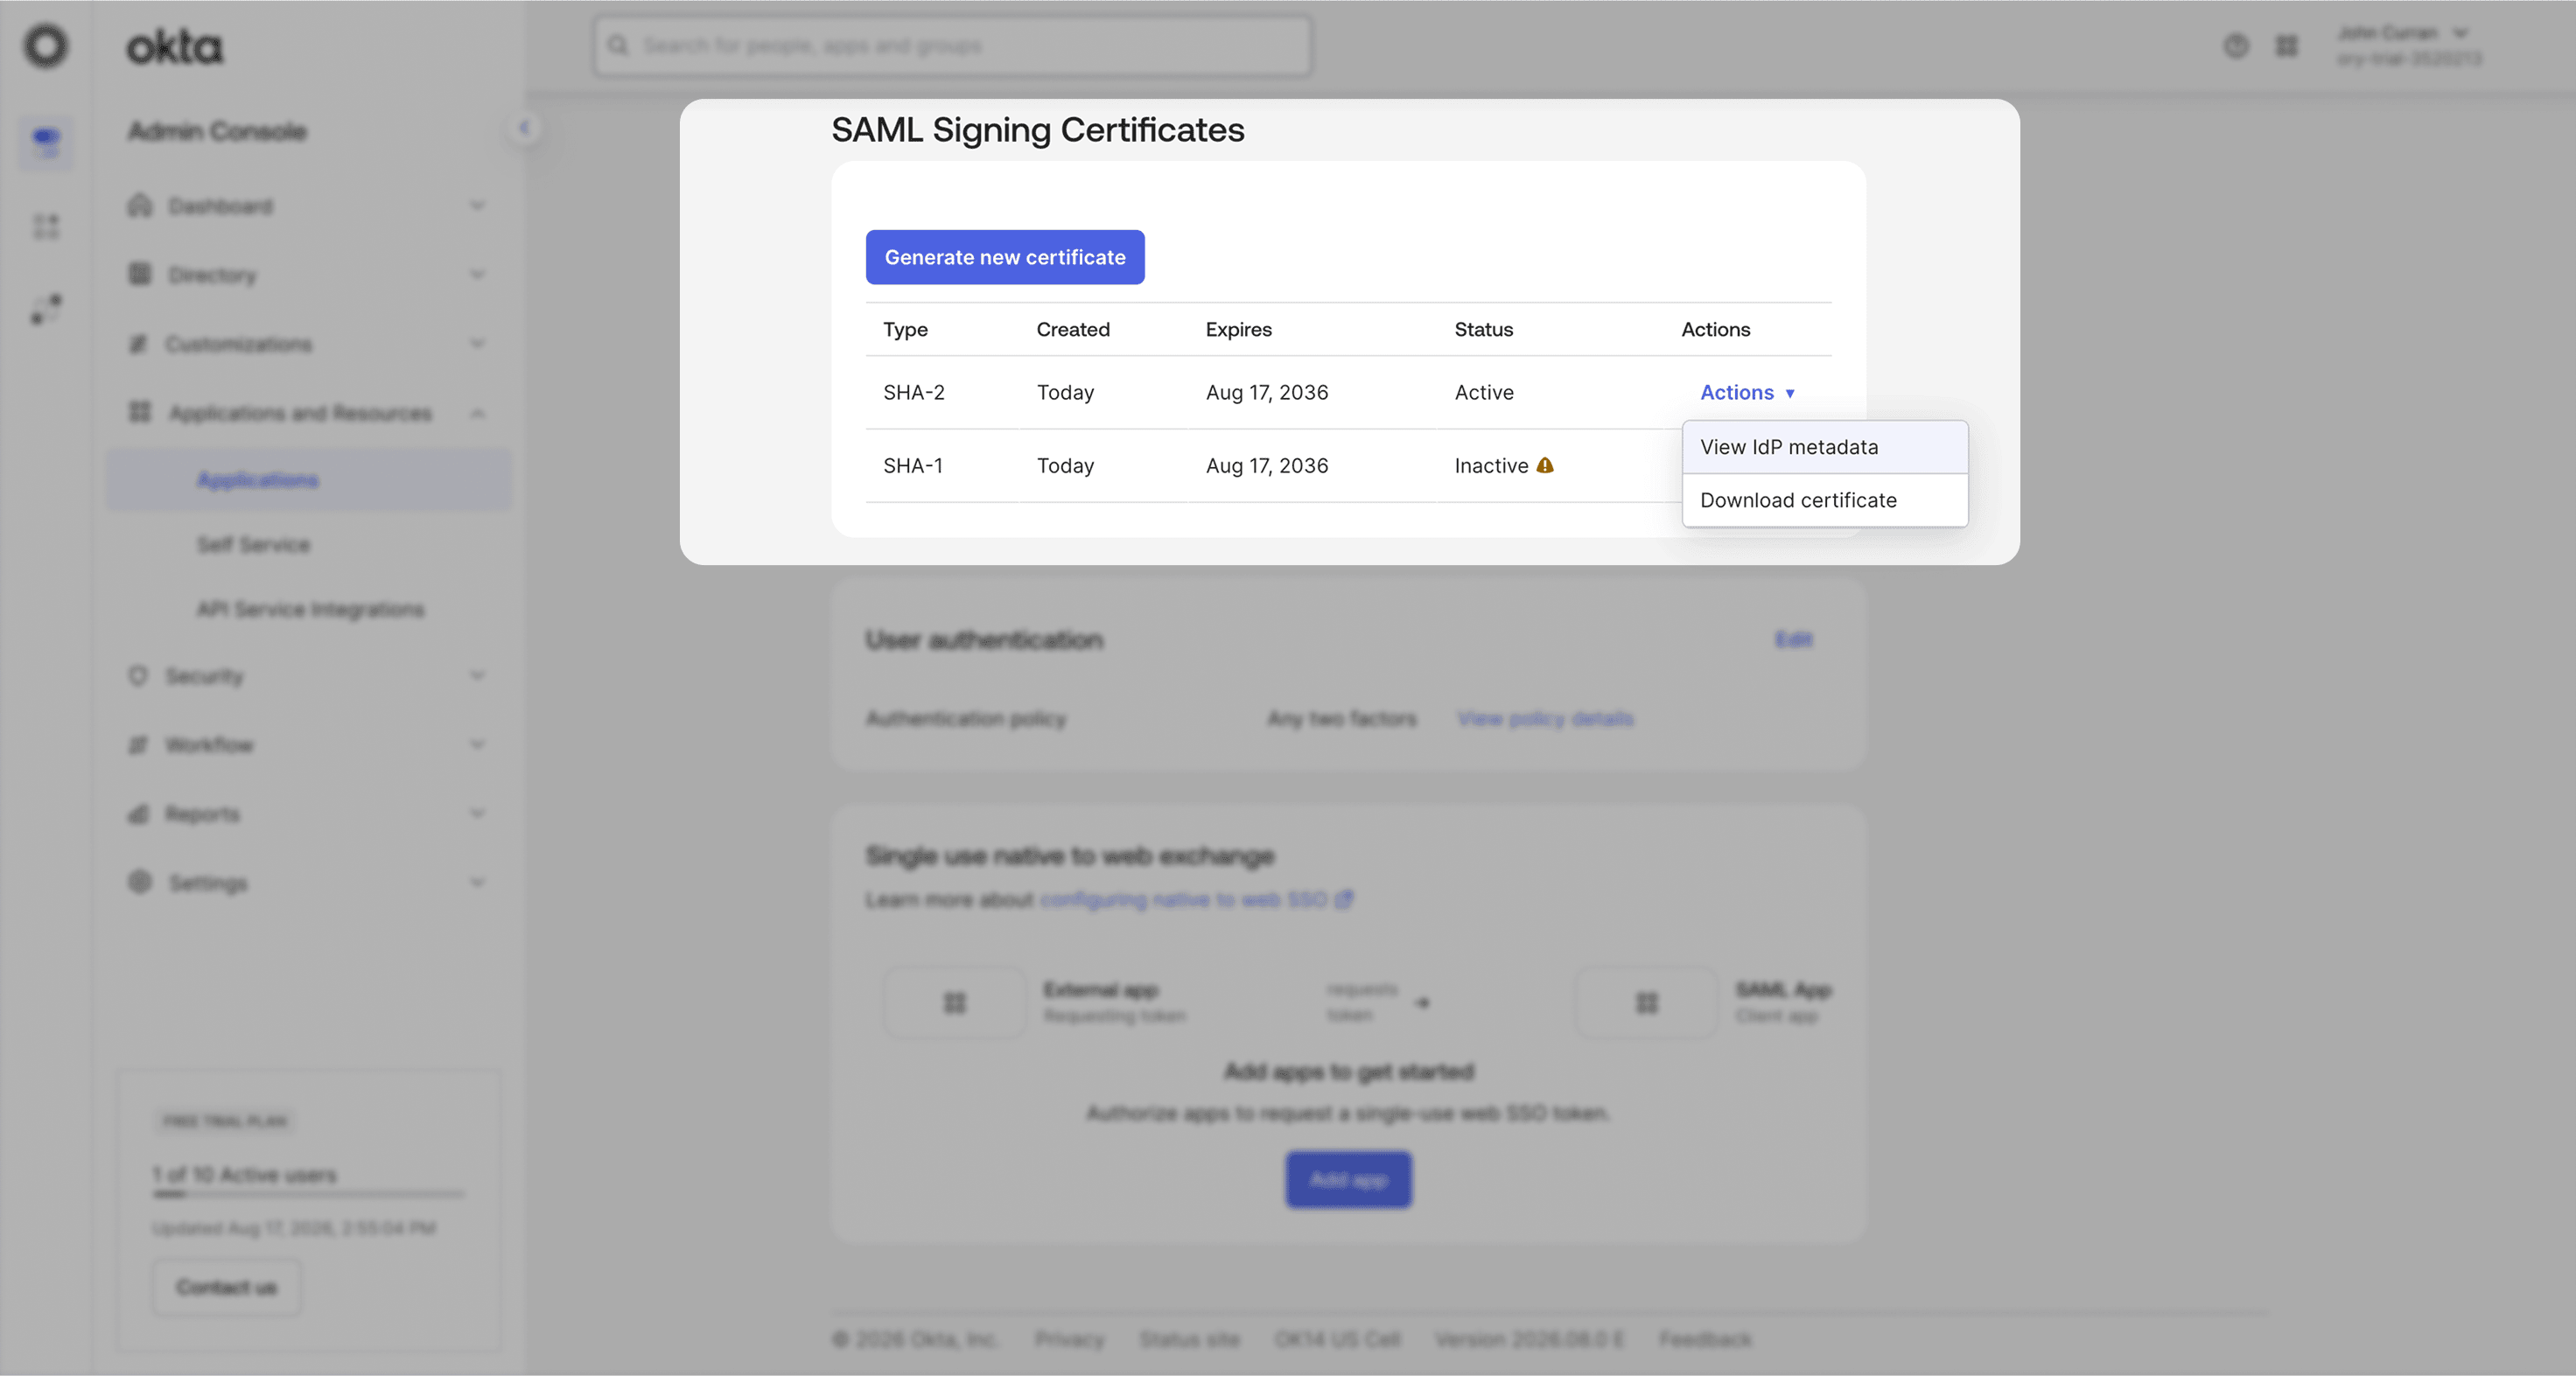
Still on the Sign On tab, go to the section SAML Signing Certificates.
Click the Actions dropdown for the active certificate and click View IdP metadata. A separate window will open with the metadata XML file, you can copy it to your clipboard.
Next steps
You've successfully configured your custom SAML application for Okta SAML. At this stage, you can assign users to your application and start using it.