Integrate authentication into Java + Spring Boot
This guide shows how to create a simple Java Spring Boot application and secure it with authentication powered by Ory.
This guide is perfect for you if:
- You have Java 17+ and Maven installed.
- You want to build an app using Spring Boot.
- You want to give access to your application to signed-in users only.
Create Spring Boot app
First, create a new Spring Boot project. You can use Spring Initializr or create the project structure manually:
mkdir your-project
cd your-project
Create a pom.xml file with the following dependencies:
<?xml version="1.0" encoding="UTF-8"?>
<project xmlns="http://maven.apache.org/POM/4.0.0"
         xmlns:xsi="http://www.w3.org/2001/XMLSchema-instance"
         xsi:schemaLocation="http://maven.apache.org/POM/4.0.0
         http://maven.apache.org/xsd/maven-4.0.0.xsd">
    <modelVersion>4.0.0</modelVersion>

    <parent>
        <groupId>org.springframework.boot</groupId>
        <artifactId>spring-boot-starter-parent</artifactId>
        <version>3.2.0</version>
        <relativePath/>
    </parent>

    <groupId>com.ory</groupId>
    <artifactId>ory-java-example</artifactId>
    <version>1.0.0</version>
    <name>Ory Java Authentication Example</name>
    <description>Example demonstrating Ory authentication integration with Spring Boot</description>

    <properties>
        <java.version>17</java.version>
    </properties>

    <dependencies>
        <dependency>
            <groupId>org.springframework.boot</groupId>
            <artifactId>spring-boot-starter-web</artifactId>
        </dependency>
        <dependency>
            <groupId>sh.ory</groupId>
            <artifactId>ory-client</artifactId>
            <version>1.22.11</version>
        </dependency>
    </dependencies>

    <build>
        <plugins>
            <plugin>
                <groupId>org.springframework.boot</groupId>
                <artifactId>spring-boot-maven-plugin</artifactId>
            </plugin>
        </plugins>
    </build>
</project>
Install Ory SDK
To interact with Ory's APIs, install the Ory Java SDK:
mvn install
The Ory Java SDK dependency is already included in the pom.xml file above.
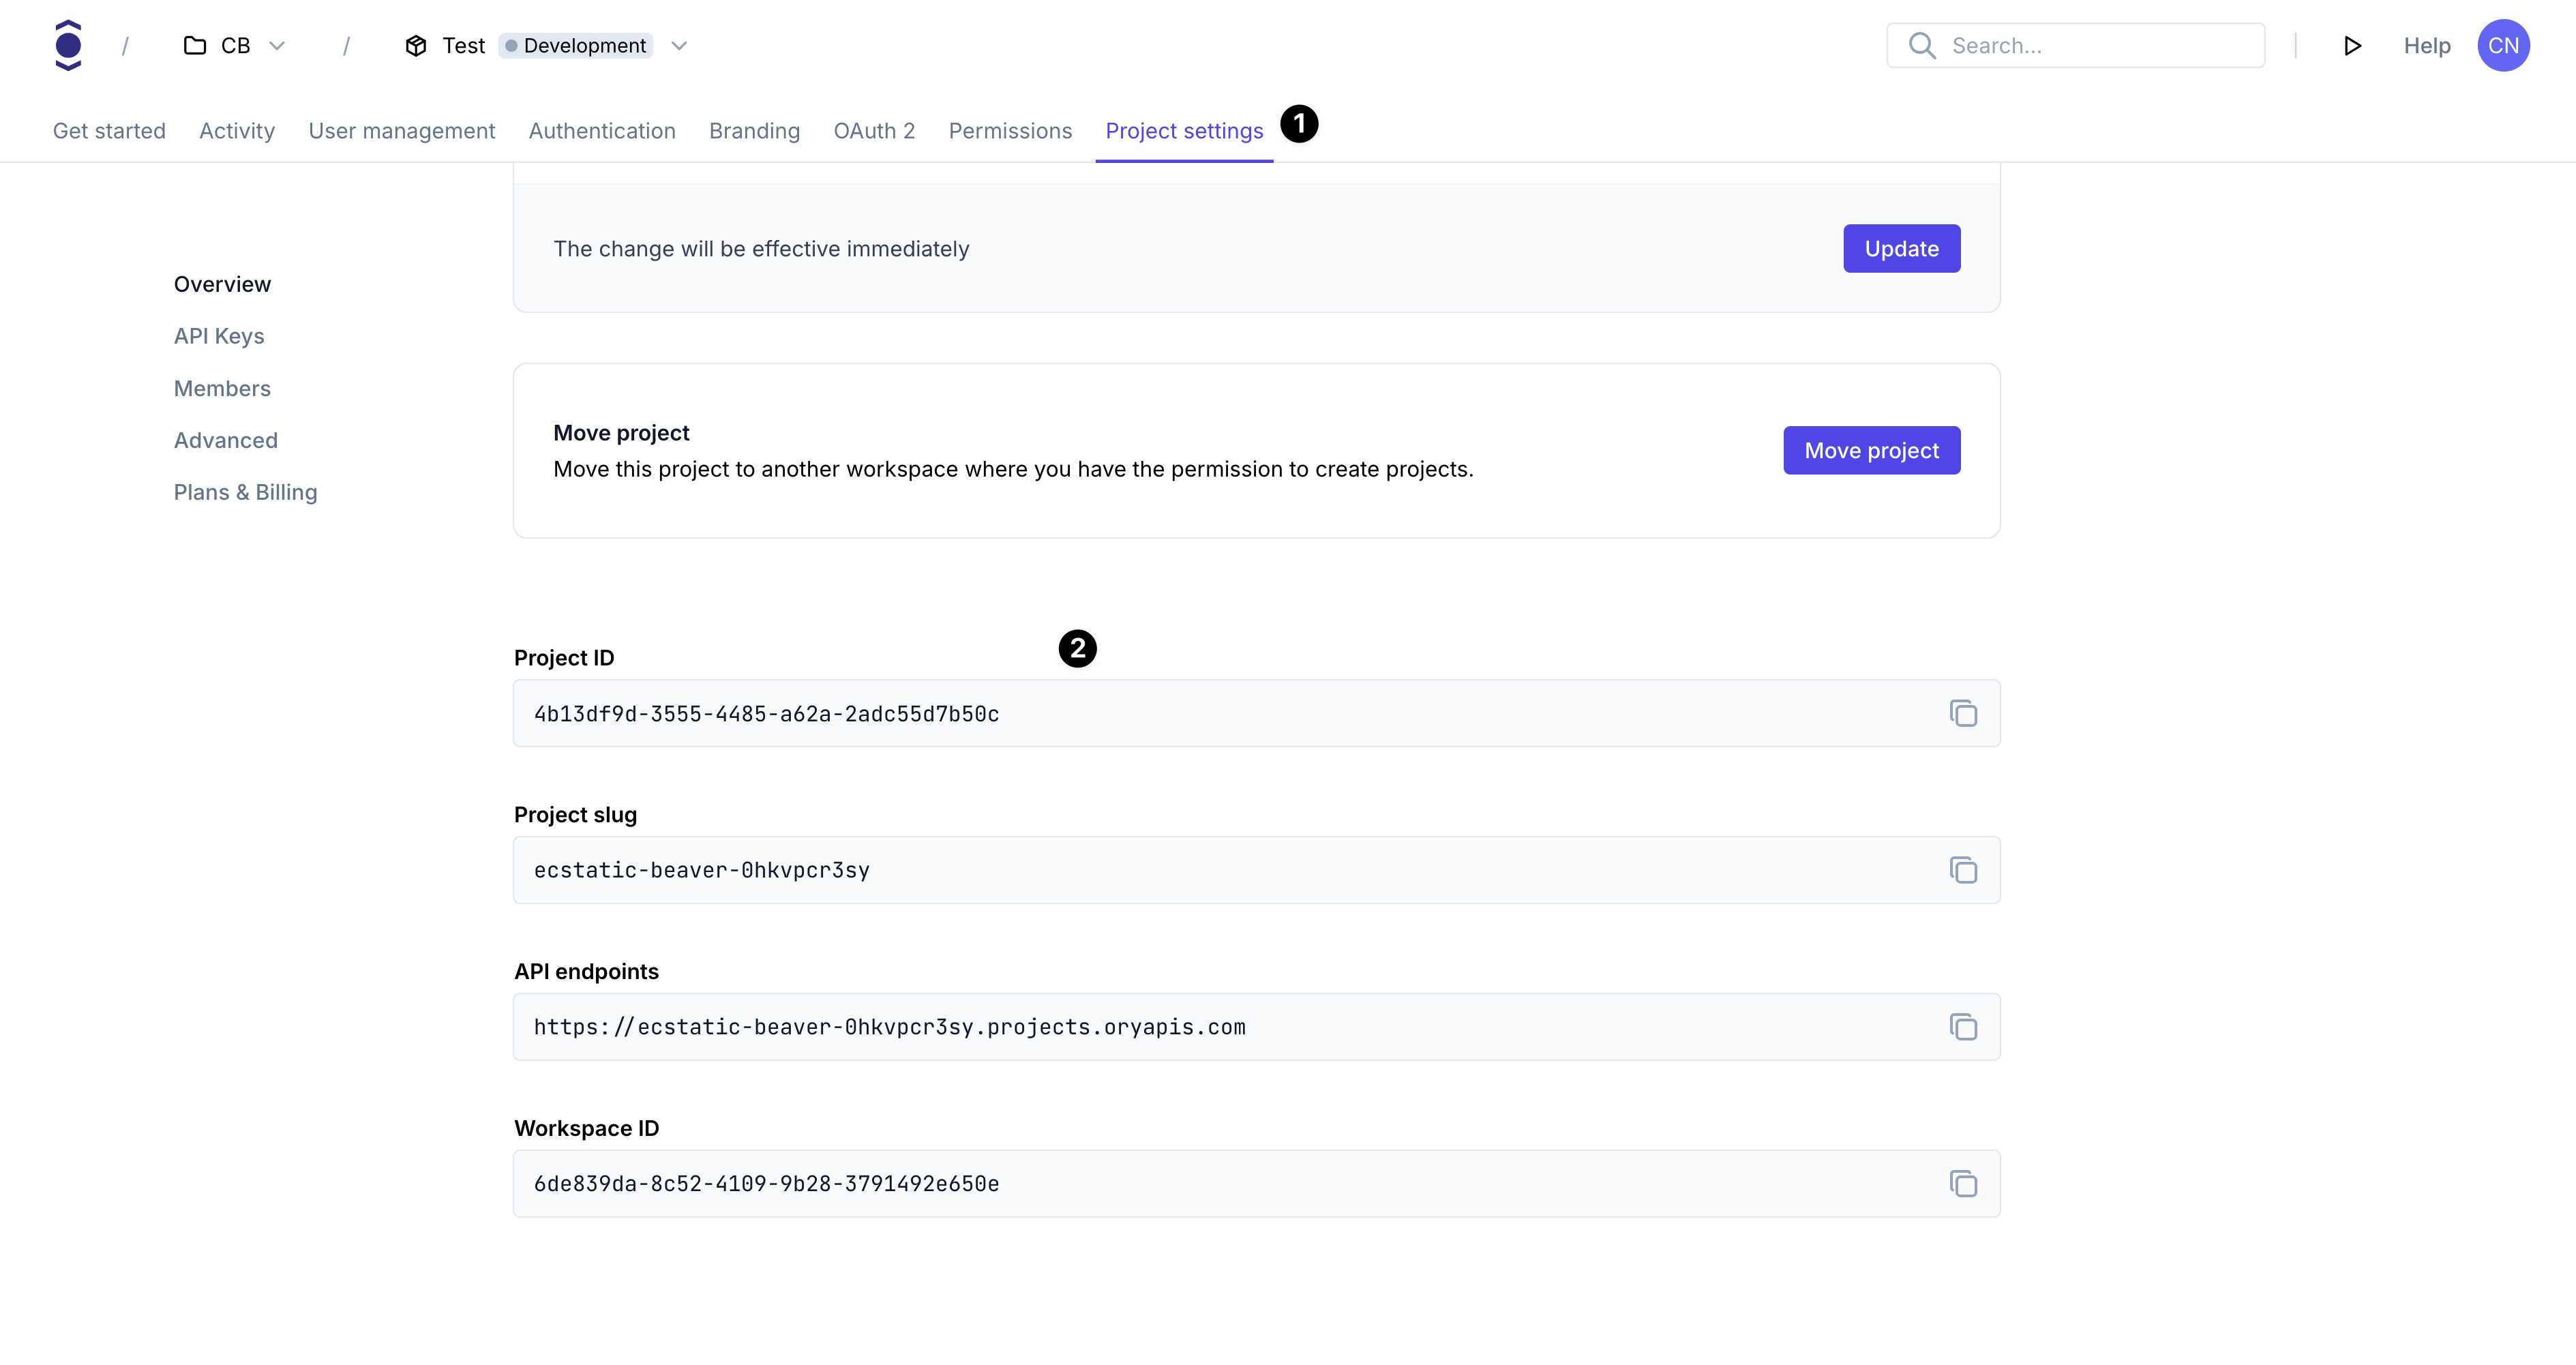
Create a new Ory project
- Create an Ory account at https://console.ory.com
- Create a new project at https://console.ory.com/projects/create
- Go to your project settings
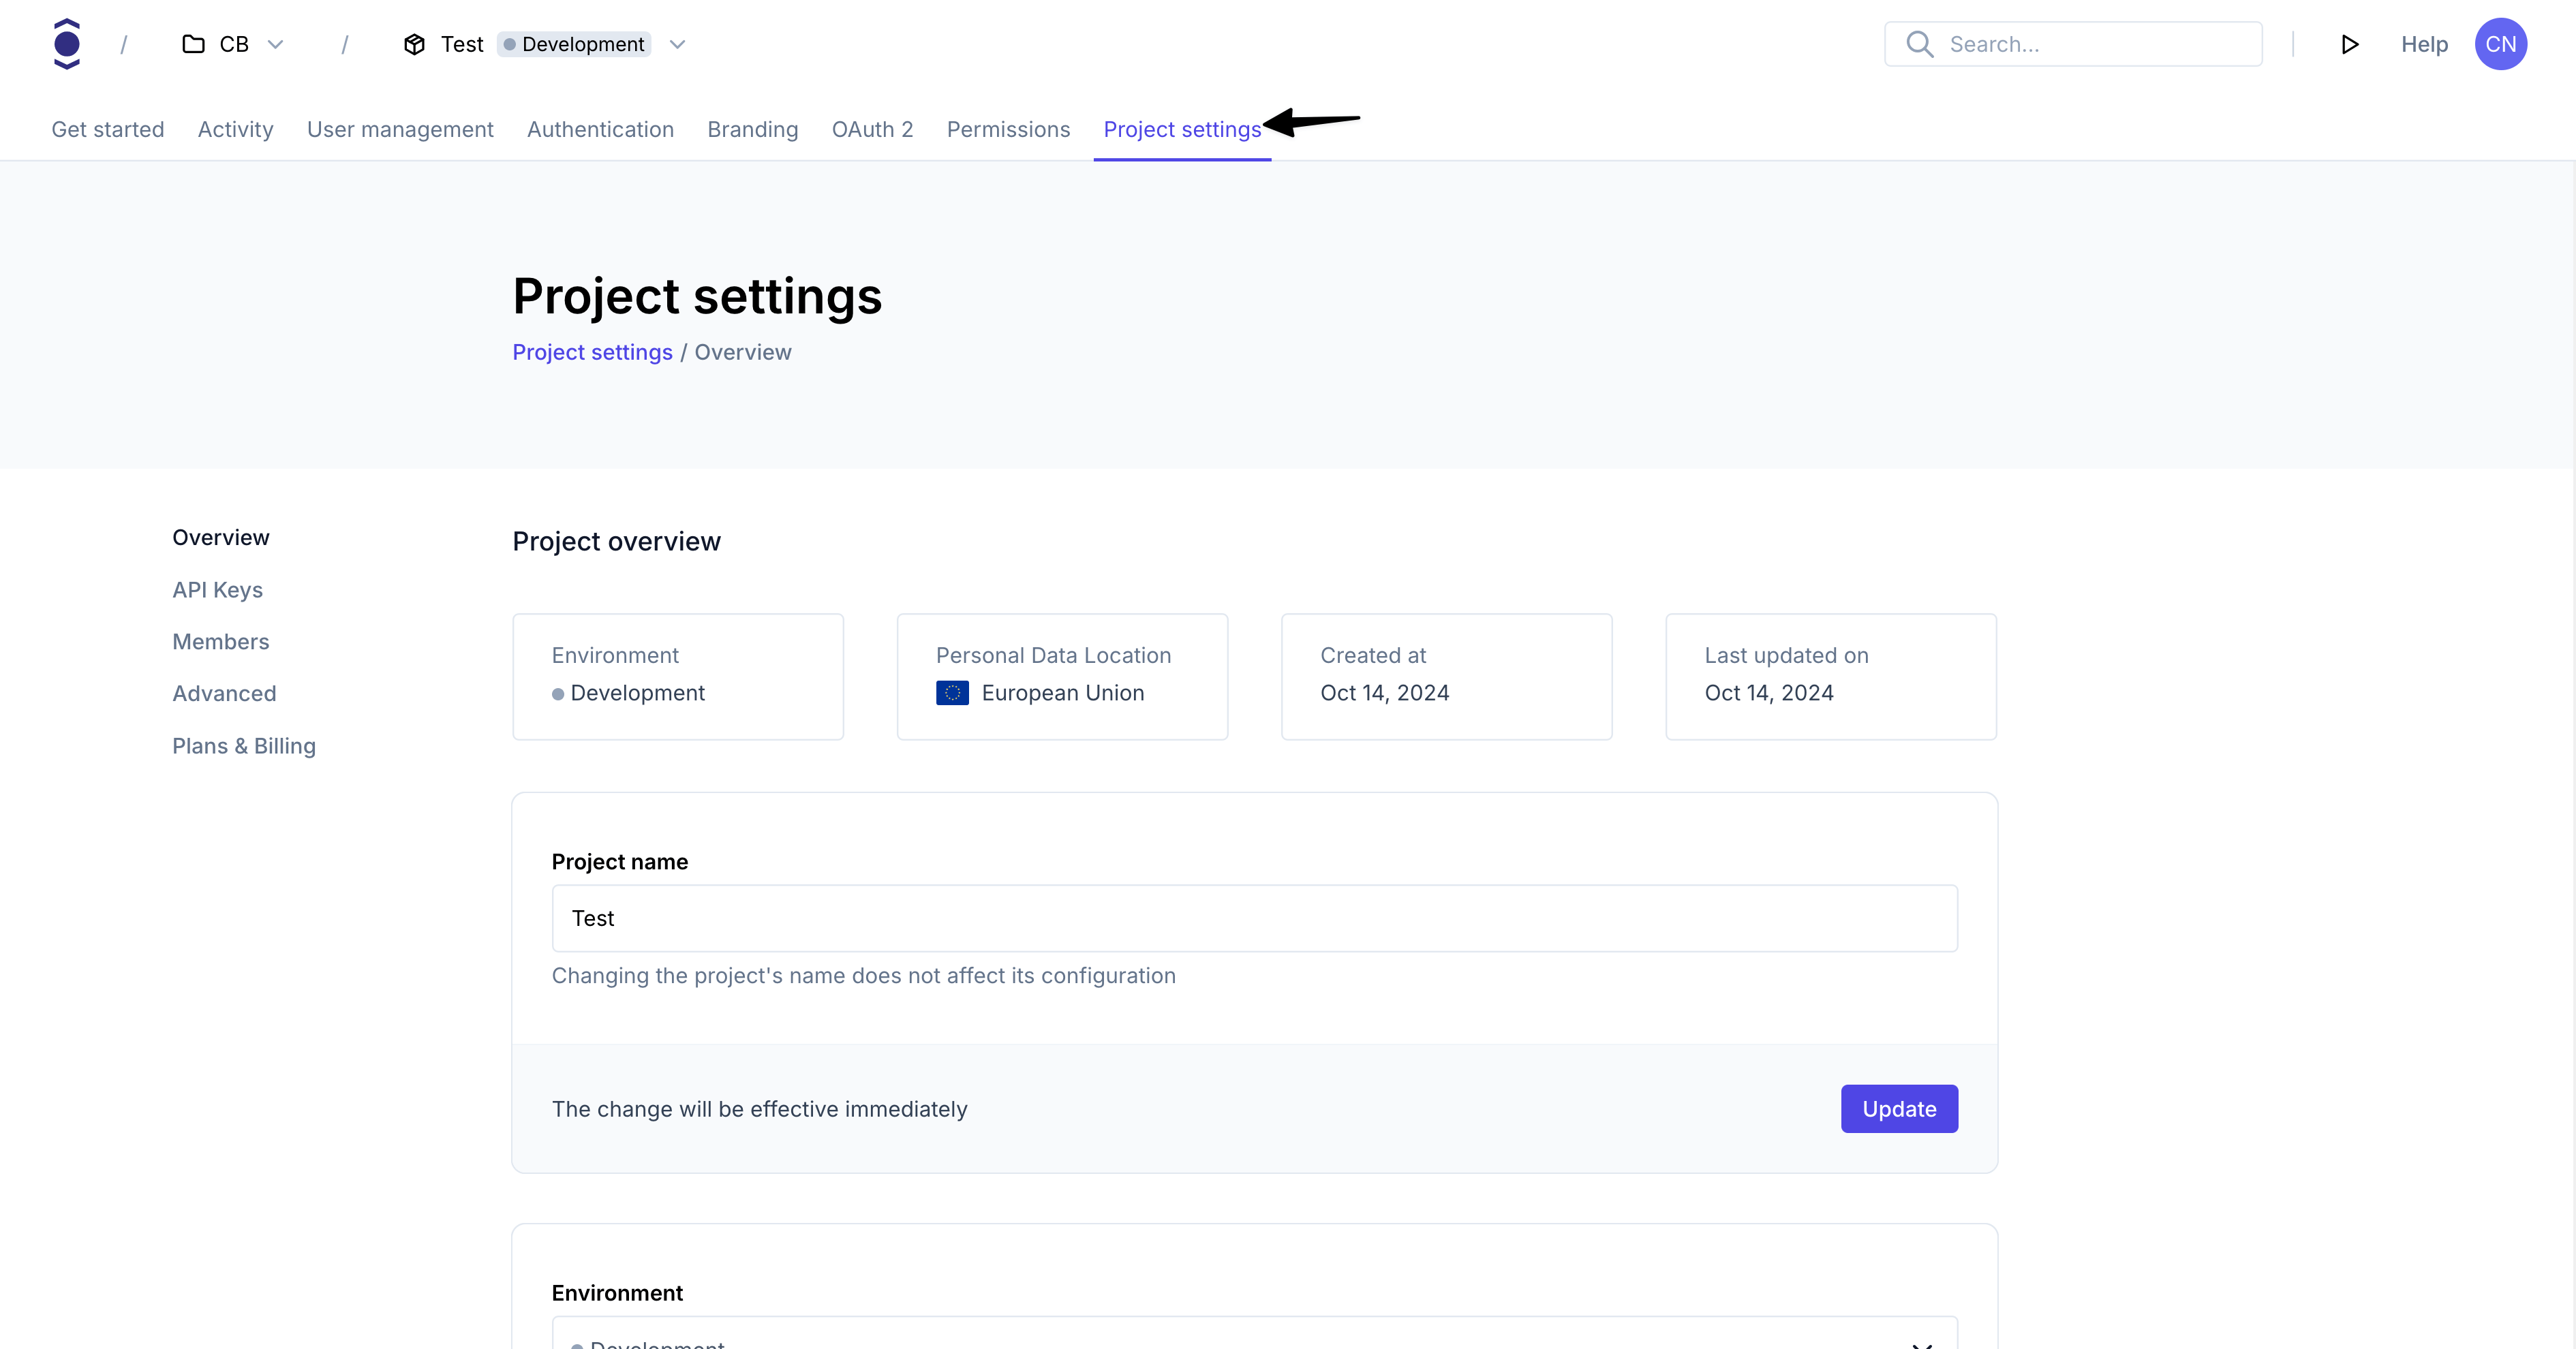
- Note down your project credentials (ID, slug, endpoint)
Install Ory CLI
Follow this guide to install the Ory CLI on your machine.
Why do I need the Ory CLI
The Ory security model uses HTTP cookies to manage sessions, tokens, and cookies. Because of browser security measures like
CORS, Ory APIs must be exposed on the same domain as your application.
In the case of this example the application runs on your local machine. The cookie domain is localhost.
Use either localhost or 127.0.0.1 consistently. Although technically they refer to the same machine, browsers treat them as
different cookie domains.
Ory CLI provides a convenient way to configure and manage projects. Additionally, the CLI provides Ory Tunnel - a tool that ensures cookies match the domain your application is currently on.
To make Ory APIs and your application available on the same domain, Ory Tunnel mirrors Ory endpoints and rewrites cookies to match
the correct domain. As a result, the domain of the cookies is set correctly to the domain you run the app on instead of
<your-project-slug>.projects.oryapis.com.
By using the Tunnel, you can easily connect the application you're developing locally to Ory Network and consume the APIs without additional configuration or self-hosting any Ory services.
To learn more about the Ory Tunnel, read the dedicated section of the Ory CLI documentation.
Run Ory APIs on localhost
In a new terminal window, run the Ory Tunnel:
npx @ory/cli tunnel --dev http://localhost:3000 --project <project-id>
This command mirrors Ory APIs on http://localhost:4000. Use that URL as the basePath for Ory API calls (see configuration
below). The --dev flag disables security checks for easier integration and should not be used when running the Ory Tunnel in an
insecure environment like public networks.
Create the application structure
Create the following directory structure:
src/main/java/com/ory/example/
src/main/resources/
Main application class
Create the main Spring Boot application class:
package com.ory.example;

import org.springframework.boot.SpringApplication;
import org.springframework.boot.autoconfigure.SpringBootApplication;

@SpringBootApplication
public class Application {
    public static void main(String[] args) {
        SpringApplication.run(Application.class, args);
    }
}
Session interceptor
Create an interceptor to validate user sessions:
package com.ory.example;

import jakarta.servlet.http.HttpServletRequest;
import jakarta.servlet.http.HttpServletResponse;
import org.springframework.beans.factory.annotation.Value;
import org.springframework.stereotype.Component;
import org.springframework.web.servlet.HandlerInterceptor;
import sh.ory.ApiClient;
import sh.ory.ApiException;
import sh.ory.Configuration;
import sh.ory.api.FrontendApi;
import sh.ory.model.Session;

@Component
public class SessionInterceptor implements HandlerInterceptor {
    private final FrontendApi frontendApi;
    private final String basePath;

    public SessionInterceptor(@Value("${ory.sdk.url:http://localhost:4000}") String basePath) {
        this.basePath = basePath;
        ApiClient apiClient = Configuration.getDefaultApiClient();
        apiClient.setBasePath(basePath);
        this.frontendApi = new FrontendApi(apiClient);
    }

    @Override
    public boolean preHandle(HttpServletRequest request, HttpServletResponse response, Object handler) throws Exception {
        String cookieHeader = request.getHeader("Cookie");

        // Get session from Ory
        Session session;
        try {
            session = frontendApi.toSession(null, cookieHeader, null);
        } catch (ApiException e) {
            session = null;
        }

        // Check if session is valid
        if (session == null || !session.getActive() || session.getIdentity() == null) {
            response.sendRedirect(basePath + "/ui/login");
            return false;
        }

        // Store session in request attribute for controllers to access
        request.setAttribute("session", session);
        return true;
    }
}
The interceptor uses the Ory Java SDK's FrontendApi directly to validate sessions. It extracts the cookie header from the
request and calls toSession(null, cookieHeader, null) to check if the user has a valid session. If the session is invalid or
missing, the user is redirected to the login page.
Web configuration
Register the interceptor:
package com.ory.example;

import org.springframework.beans.factory.annotation.Autowired;
import org.springframework.context.annotation.Configuration;
import org.springframework.web.servlet.config.annotation.InterceptorRegistry;
import org.springframework.web.servlet.config.annotation.WebMvcConfigurer;

@Configuration
public class WebConfig implements WebMvcConfigurer {
    @Autowired
    private SessionInterceptor sessionInterceptor;

    @Override
    public void addInterceptors(InterceptorRegistry registry) {
        registry.addInterceptor(sessionInterceptor)
                .addPathPatterns("/**")
                .excludePathPatterns("/error");
    }
}
Home controller
Create a controller for the protected page:
package com.ory.example;

import jakarta.servlet.http.HttpServletRequest;
import org.springframework.http.ResponseEntity;
import org.springframework.web.bind.annotation.GetMapping;
import org.springframework.web.bind.annotation.RestController;
import sh.ory.model.Session;

@RestController
public class HomeController {
    @GetMapping("/")
    public ResponseEntity<Session> home(HttpServletRequest request) {
        // Get session from request attribute (set by SessionInterceptor)
        Session session = (Session) request.getAttribute("session");
        return ResponseEntity.ok(session);
    }
}
Application configuration
Create the application configuration file:
server:
  port: 3000

ory:
  sdk:
    url: ${ORY_SDK_URL:http://localhost:4000}
Test your application
With all of the pieces in place, it's time to test your application. Follow these steps:
- Start your Spring Boot app:
mvn spring-boot:run
- Run the Ory Tunnel to mirror the Ory API endpoints on your application's domain (
localhost). Upon first start, the Ory Tunnel will ask you to log into your Ory Console account.
npx @ory/cli tunnel --dev http://localhost:3000 --project <project_id>
- Open http://localhost:3000 to access the application. Since the initial call is made by an
unauthenticated user, the interceptor doesn't detect a valid session and redirects to the login page of the defined Ory
project.
From there, you can create a new account or sign in using an existing identity. When you sign in, the session becomes valid and the application shows theHomepage with the session data.
Go to production
You can use many different approaches to go to production with your application. You can deploy it on Kubernetes, AWS, a VM, a
RaspberryPi - the choice is yours! To connect the application to your Ory project, the app and Ory APIs must be available under
the same common domain, for example https://ory.example.com and https://www.example.com.
You can easily connect Ory to your subdomain. To do that, add a Custom Domain to your Ory Network project.
With the custom domain set up, you don't need to use Ory Tunnel to interact with Ory APIs. Instead, use the configured custom domain in your SDK calls.
Update the application.yaml or set the environment variable to point to your production Ory domain:
ory:
  sdk:
    url: https://ory.example.org
Or set it as an environment variable:
export ORY_SDK_URL=https://ory.example.org